Saturday, September 28, 2019

Laundry Room Reveal!

20 years ago, when we moved into this house right before Thanksgiving, there was a TON of things that I wanted to do to make it OUR home.

It was built by my in-laws in 1963, so while the home had incredible bones, it needed to be updated.

Over the course of those 20 years we've literally revamped every room, sometimes multiple times as is the case when living in a home this long and having a decorator's heart lurking within.

However...

One sad and lonely little room got aa series of initial (read incremental) makeovers and stayed that way for the rest of its life until recently.

Introducing our laundry room/area.


Now, let me preface this by saying that there have been a few updates along the way.

3 years ago I removed the cabinet doors over the machines (machines which have been replaced twice over said 20 years), framed with craft wood and medallions, papered with paintable beadboard wallpaper, and then used to store all the laundry "things."

But for some reason, I stopped there.

Last year I added these panels that resemble tin along the side and back of the machines. We have them as a backsplash in our adjoining kitchen, so I wanted it to naturally "flow" from there as well.

But for some reason, I stopped there.


When we initially moved in, I painted the paneling and then stenciled a grapevine pattern in random areas. (Before you cringe...stenciling...it was 1999 and stenciling was still in.)

But for some reason, I stopped there.  And that stop was a LONGGGGGG ONE!


At some point, I can't remember, hubby and I installed 2 IKEA cabinets on the wall.

This lower cabinet is actually a wall cabinet that is meant to go above the refrigerator.

I needed clearance below for the heat, recycle bin, and dog feeding area.

Plus, the top gave me a bit of a counter area without taking up valuable space between the wall and the machines.


Above, we installed a glass-fronted wall cabinet that's been used to store all my vases and bread baskets for years.

So, I guess you could say that I've done lots of things in this area.

But...

I never really finished it.

Until now.

I recently decided that I NEEDED to finally finish this room so that when we went to sell this house to downsize it would not disappoint, but excite, the next owners.

So I got to work.


I started with the major thing...

Painting those stenciled walls.

I used leftover paint from a guest room.  It is a soft taupe (Sherwin Williams Outerbanks SW7534) and matches the wallpaper tones in the kitchen.

Although this laundry room is really an "area" of our kitchen, you cannot see it when you enter the kitchen unless you go all the way back and turn the corner.  It's right across from the pantry that I redid in this post

We replaced the lighting in there from a "boob" light to this spanned light.  I like that it travels across the ceiling with multiple lights that can be directed to different areas.


I painted the main wall as well as the back wall.  A bit of the taupe paint shows above the door when you enter the kitchen, so it's quite pleasing to see from that vantage point considering how it blends with the overall decor of the kitchen.


I made sure to paint the heating (it doesn't affect it) while working around the cabinets on the wall.

I also gave our recycle bin a little pick-me-up.  I found Minglewood Trading on ETSY and for $6 I had the perfect label which shipped quickly and worked perfectly.  


On top of the lower cabinet, I kept the piece of wallpaper I have had under glass.  It was working and I liked the texture, pattern, and black base that it adds to the room.

The dog treat jar was bought years ago at Marshal's, but I've seen similar in there recently.

The picture is an internet printed 8.5x11 sheet in a Dollar Tree frame that I painted black.


I cleaned out the vases, thinning out the "herd" of them and keeping only what I really USED.  I liked many of them, but I decided that if I didn't use it I couldn't keep it.

I cleaned this cabinet out well, washed the glass, and returned this hodge-podge collection to the shelves.

Next, I worked on re-decorating the shelves above the machines.


I used my label maker and some small Dollar Tree frames to create labels for my laundry needs.


These Dollar Tree small glass jars and the glass milk container (Amazon) are perfect for getting my cleaners out of their colorful (read "I don't like the way they look with my aesthetic) containers.

I simply attached the frames with command strips.


I used a vintage Ball Mason jar, a faux succulent, and a vase of collected wine corks as a small vignette.


An old McCoy planter was used to hold my laundry pods, and a Dollar Tree canvas was attached to the wall with a command strip as well.


Here's a great shot of how this area looks over my washer.

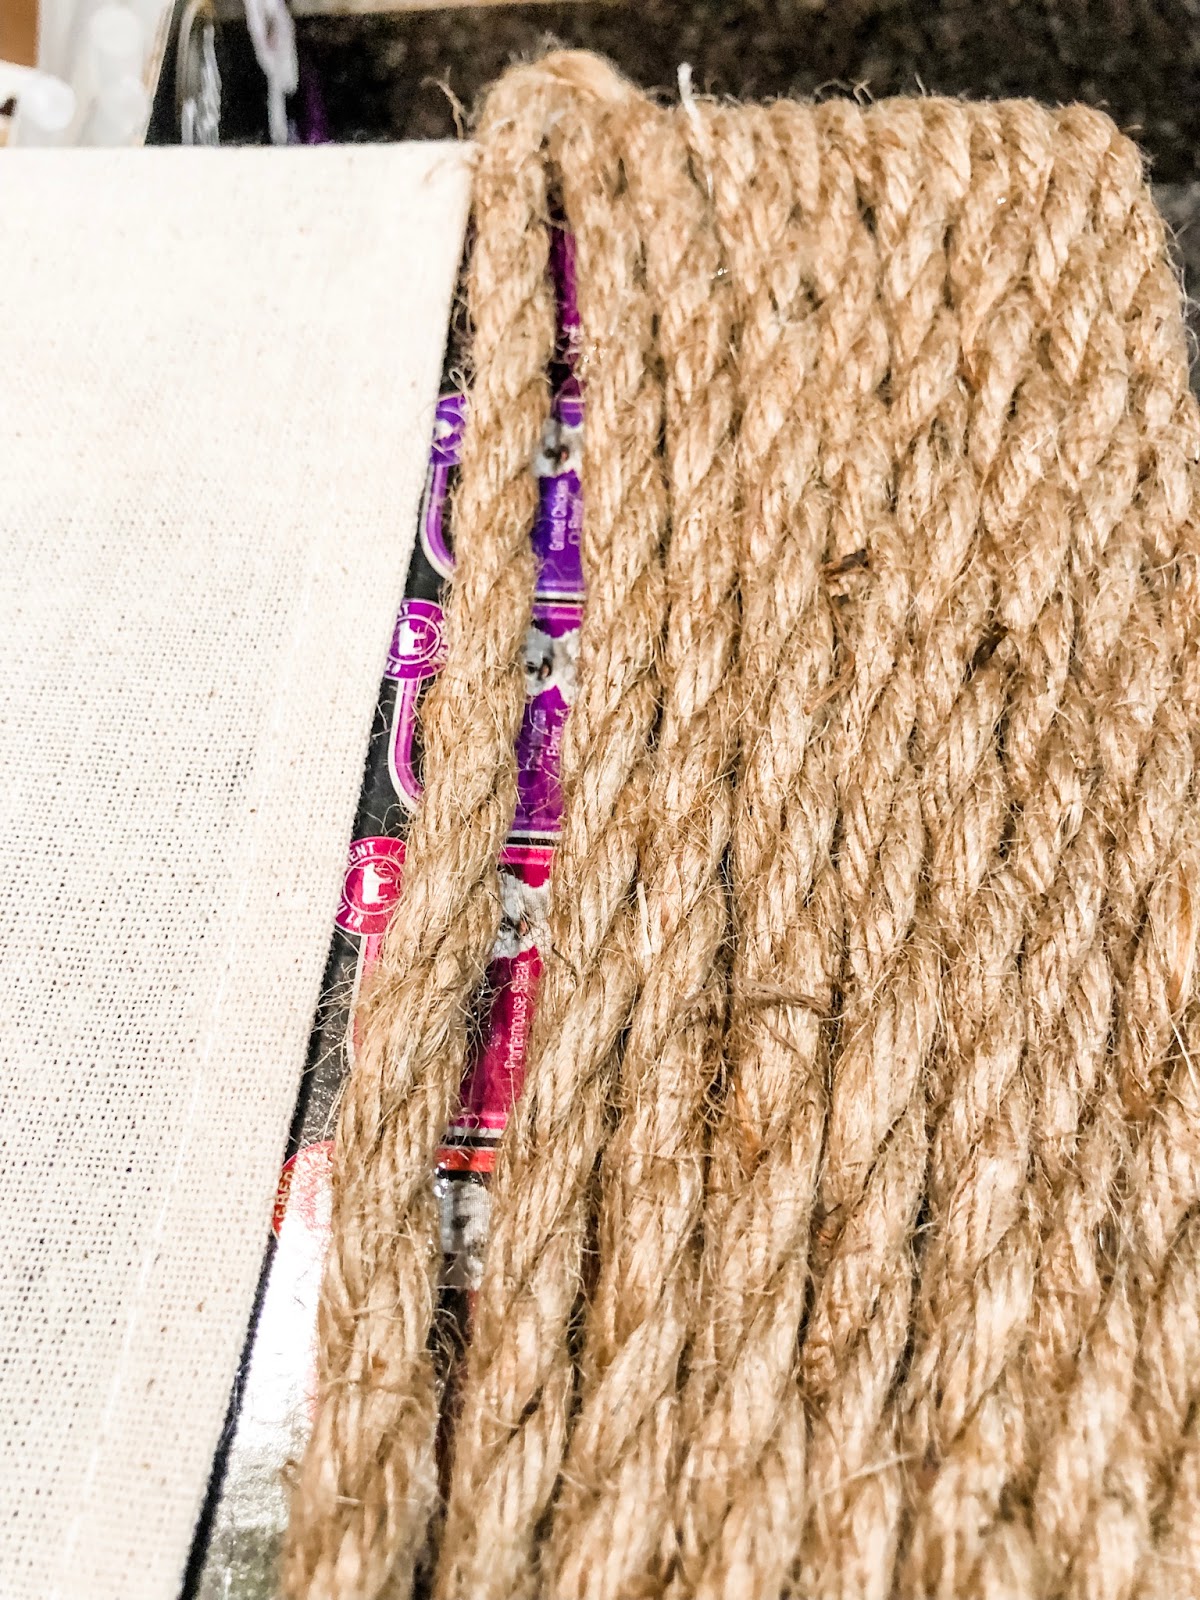
See my hand-made Pottery Barn inspired basket above?  It's holding all my folded (yes, I said folded) plastic grocery bags that we use periodically for trash.

Side note:  When I redid this area, I used peel and stick tile on the bottom of the shelves.  This is a great way to have wipeable shelves that see A LOT of sticky detergents and cleaning supplies placed on them.  It's great to also use these peel and stick tiles in the bottom of cabinets under sinks.  It protects against water and spills!


Above the dryer, I placed a second basket that I had made along with my iron and some vintage Ball Mason jars with needed supplies tucked inside.


From the side, here's a better shot of the whole area.


And here it is from the pantry doors.  (Actually, I was inside the pantry to get this shot!)

I FINALLY HAVE FINISHED THIS AREA.

It only took me 20 years.

What rule says it couldn't?


Tuesday, September 24, 2019

Organizing Important Paperwork

When my sweet mother-in-law passed away in April of this year, I watched and made some mental notes of ALL the paperwork and activity that comes with the death and estate business of a loved one.

Of course, I was not directly involved with all of that, but my husband and his older sister were, so it was spread out on our dining room table for a few weeks as things were processed and completed.

Let me just say there were A LOT of "T's" to cross and "I's" to dot, and without careful pre-organization, it would have been a nightmare.

It made me really think about what our children would face if something were to happen to us.

It especially made me think about what hubby would face if something were to happen to me.  You see, I take care of all the finances and "paperwork" stuff in our household.

I didn't want anyone to become overwhelmed, so I went to work...


I started by gathering all of the "stuff" that has been in different locations throughout hubby's office.

Things like mortgage papers, insurance policies, financial documents, appliance manuals, IRS documents, etc...

You name it, I gathered it into one very tall pile and placed it on our dining room table.


It was not a pretty sight.

In fact, there was so much individual paperwork to weed through that I decided to just do a little bit each day, making piles that were relative to a specific topic and made sense in the overall idea of organizing this stuff.


Here's the "organization" mid-process.

I had at one point organized things into different 3-ring binders, but that was not very efficient.  Too many binders were a clutter and didn't make overall sense to anyone other than me.

If I was "gone," it would have been a real struggle for someone else to get a good sense of what needed to happen and where that piece of needed paperwork was located.


This initial attempt at a "rough organization" did two things:

1.  Loosely organized what was important to keep 

2.  Teased out what could be shredded 

3.  Separated things like appliance manuals from important docs


Slowly but surely, the "mess" that once was the dining room table started to look better and bit more organized.


I was not about to get excited at this point.

I knew that this was not the "light at the end of the tunnel" moment by any means.

It was simply a way to remove unnecessary papers from important ones.


At this point, I would recommend you have two items in your home.

A good quality shredder AND a blackout roller.

A shredder is important for reducing documents that have A LOT of personal information throughout the page (Think old mortgages and 8+-year-old tax returns).  A roller is great for blacking out a few lines of personal information (utility bills and credit card offers).

We've always had a shredder.  In this day and age of identity theft, even having an account number along with your address can open you up and make you vulnerable to cyber theft.

You want to avoid making it easy for cybercriminals to get as much of your information as possible.  

Is it full-proof?  NOPE.  But it does go a long way in giving you some peace of mind that you are doing all you can to help yourself before you need the help and expense of experts.


Once everything was semi-organized, I turned to the piles that would be needed documents and began fine-tuning their organization.


I knew that I wanted to put our different types of insurances into one single binder.

As retirees, we both have different types of insurances from our previous jobs as well as personal insurances from an independent source.

Our children would not know who or where to go for these payouts if something were to happen to us and they were in charge of our estate(s).

I made sure to list each one in its own zippered folder.


I found these zippered, 3-ring folders at BJ's, but here is a similar set as well.


I used my label maker to identify the contents of each folder for ease of use.


I labeled the outside and spine of this notebook as well.  It holds only our insurances and information related to such.

After this one was organized, I proceeded with the same method for the other two categories I identified.

This is my individual health insurance through the military.  

I wanted to keep it separate as I use this for anything related to my health insurance.


The last one was financial information, including all our banking and personal finances.


All of that paperwork was reduced into this...


Three notebooks that carry a wealth of information in the event that hubby or our children need it.  They are easy to update and make needed changes.

We have them stored in a secure place so they are protected.

It's peace of mind for me as well as them, and it feels so good to have it all organized and making "sense."

It's a rule that everyone should put into practice.


Saturday, September 21, 2019

Box to Basket DIY

I've been working on a "redo" in my laundry area.  I hadn't updated that space since we moved in 20 years ago.

REALLY...that space has gone through small rehabs and redecorations but nothing like what I had in mind.

In preparation for a "new look," I decided to make some homemade baskets.

I had the perfect starting point.

The Little Ceasar's Dog Food box of 48 individual containers of variety flavors we buy for our Dixee dog.


I started by cutting off all the top flaps with a sharp cutting blade. (Buy these in sets of 4 from the Dollar Tree)


The edges don't need to be cut perfectly, but as straight as possible makes it easier to cover.


Next, I grabbed my fabric.  I used some leftover painter's drop cloth that I buy from Lowe's.

These drop cloths are super for many home decor projects because they are thick, easy to work with, and super cheap!

I placed the bottom of the box in the middle of the fabric so that when the fabric was inserted inside the box, about 2-3 inches would drape over and down the sides.


I cut triangle shapes out near the corners of the box.  

This helped with ease of folding the edges over, making the edges and creases neat.


I placedace the bottom of the cut piece inside the box ( any box will do, so don't worry if you don't have the dog food box).

Folded one side up and over, easing the fabric as I went

I did the shorter sides of the box first.

I made creases along the raw edges so that it was even with the sides.  

A bulldog clip helped to keep the fabric in place as I was working my way around.


Using a hot glue gun, I added glue under the fabric to the box and gently laid down and smoothed the fabric up the inside panel, over the top, and along the top edge.

I used the hot glue to hold it firmly against the box.

I recommend NOT pulling the fabric taut as that will add wrinkles and pull marks along the fabric weave.  Just gently smooth it into place and it will lay just right.


I repeated this with the OPPOSITE side, then finished the front and the back.

When you lay down the front side you will cover over the slight turns in the fabric so that none of the box will be seen along the edges.


This is what I had when I finished with the fabric.


In on of my previous visits to the Dollar Tree I grabbed MANY of these Decorative Nautical Rope packs.  These cover 13 feet, so do some quick math to figure out how many packs you will need.

I used 5 for one box.

This rope is very pliable and will easily work with this project.


I identified which side would be my back and started there.

Using hot glue, I attached the end of the rope to the edge of the box.  


I ran a long line of hot glue along the bottom of the box and placed the rope along the line.

I wrapped it around the box until I came back to the starting point.


At that point, I gently manipulated the rope over and above that starting point and began to glue and wrap the rope around once more.


I kept on going until I reached the end.  I then glued that end down to the box.  I started with another piece of rope, adding a bit of glue on the tip and connected it with the glued down end on the box.

Then I continued on...


In my case, the rope started to "sag" as I butted it up against the previous length.

I wanted the top rope to be as straight as possible, so to combat this, I straightened the next wrap, leaving a bit of a gap showing.


Grabbing some of my next packet of rope, I cut off a piece the same length as the gap.

I unwrapped the three strands and hot glued one of the strands inside the gap.

You can see it here, but when looking at the box it's almost undetectable.


I had to do this about 3 times at different points on the box.


Once I wrapped all the way up and over the lining, I stopped.

I had abut 2.5 inches from the rope to the edge of the top of the box.

Isn't it looking cute?

You could be done here, but I had one more part that I wanted to add.


I picked up these black iron handles at Hobby Lobby during a 50% off week.

They didn't come with screws, so I grabbed some from my stash along with a few nuts.


I marked the center of the top of the box, over the fabric area, added some black dots through the screw holes, and glued the handle on.

Using a screw driver and a bit of hot glue, I screwed the short screws through the fabric and the cardboard, out through the other side, which was really the inside of the box.


A good 'ole Sharpie marker made the the screw black so it would blend in with the pull.


It works great to disguise the silver screw.


Even though the screws were short, a bit of the pointy end came through.

Using some hot glue and a nut, I covered that sharp end perfectly.


I was done!

Only one more to make...


I loved the way this turned out, and both of them look so good in my finished laundry area.

Stop back by next Saturday as I reveal the finished laundry area in a new post.


© No Rules after 50. Made with love by The Dutch Lady Designs.