Many of you know that I have really short hair.
Like, Pixie Cut short!
So why would I be posting about hair clips?
BECAUSE THEY WERE SO COOL AND FUN TO MAKE!
(that's why)
While watching Orly Shani, the DIY Designer on YouTube, I viewed this tutorial.
 |
| Photo Cred: Orly Shani, The DIY Designer |
Orly is an amazing fashion crafter who appears regularly on Hallmark Channel's Home and Family television show. I've never watched that show, but I'm an avid fan of her personal YouTube channel.
This DIY caught my eye and I knew that I'd have to make some of them for my daughter and some "long-locked" friends.
Let's get started!

The first thing I did?
Perused Amazon, based on the recommendations by Orly, for gems, large hair clips, and Gem-Tac.
It provided an insane amount of materials in one purchase.

Next, I grabbed two packs of these "fancy" bobby pins from Wal*Mart.
They can be found right in the hair care aisle there, but they're a name brand, so you can find them just about anywhere.

I opened the packs of jewels to check them out.
I purchased a single pack of black and clear crystals alond with a two multi-colored packs.
One of the multi packs also had smaller genstones as well.
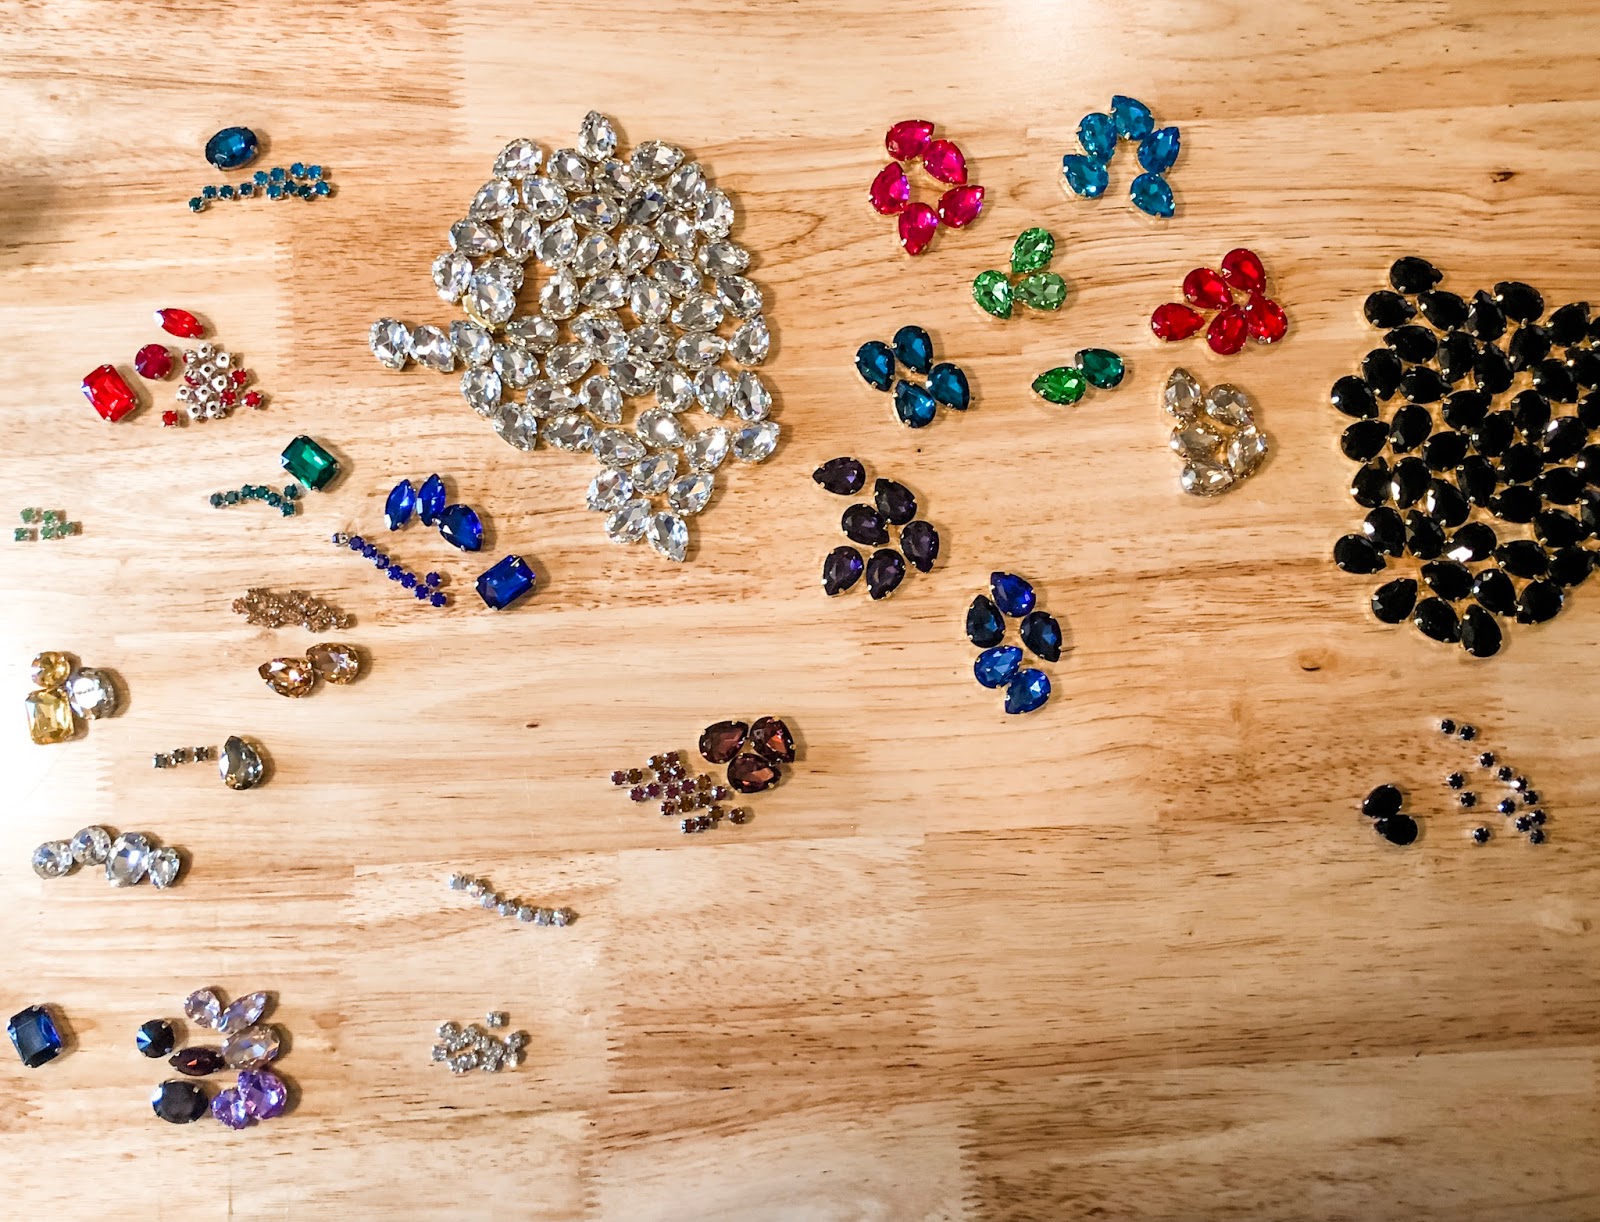
I then proceeded to organize the jewels by color.
This is important because it helps we initially designing and laying out your combinations of jewels.

I started by laying out a black clip right on my work surface.
Using the clip as a guide for length from top to bottom.

As I worked on the layout, I placed the clip FACE DOWN over the jewels to guage the length and placement.
You can manipulate the jewels as you go along, placing them in opposite directions and tweeking them a bit to make room for the total amount you want to adhere to the clip.

Once you're satisfied with you design, you start to glue them on using the Gem-Tac.
I used a small dish to steady the clip while I placed the gems using my fingers and a pair of craft tweezers.
As I worked, I placed small amounts of the glue directly to the clip and then placed the gems.

I worked in small chunks, allowing the glue to dry between placement of every 3-4 gems.
I also used a bone folder to keep the gems from "slipping" towards the middle of the clip.
I used gravity and a few well placed tools to align the jewels and steady them while the glue initially set up.
TIP: Don't be too quick to place everything at one time. Work in smaller chunks. Otherwise, you're left feeling like you're wrestling a herd of oiled down pigs when these jewels start to sway and shimmy on the still too wet glue.

While the first bits of the black clip were starting the drying process, I worked to create a rainbow clip, carefully laying out those jewels.
I used some of the smaller crystals to fill in any gaps.

I also decided to create these bejeweled end clips.

They were super easy and fun, and a bit less "in your face" than the whole bejeweled clip option.

The scunci clips were super easy to complete.
I just trailed the glue along the parallel sides and placed all the gems at one time.
These pins allowed me to use some of the different shaped jewels or create opposing placements.

I cut up the cardboard sheet they were on which made for a steady hold while glueing and drying.
I ended up with 12 of these in all.
(They were actually the easiest to create!)

I worked the larger ones in increments, completing the others in between drying times.
It was simply a matter of evaluating the process as I went to see what worked best.
I left the final products to dry for 48 hours. Time enough for the glue to really set and hold the gems to the clips and pins.
And then...

They were done!
Of course, not one works in my hair, but I did pick a few out from my daughter and my sweet friend took a few for herself and her daughter.
They make great gifts and the scunci ones could even be terrific blingy paper clips.
The jewels were originally meant to be used as sew-ons for clothing, so I might make something with those in that line. Would you want to see that? Drop a comment below.
I priced these clips and found them to be around $2.50 for much smaller options.
Mine? Around $1.00 per, give or take the amount of jewels. PLUS, I didn't find EXACTLY what I had made here on Amazon...
Check out Orly on YouTube to see the amazing fashions she's created on a budget, but look so high-end.
I like that she "breaks rules" as well!


Post a Comment