While perusing Pinterest, I came across several ideas for DIY tassels.
See, I like a great tassel.
They are perfect for adding a bit of decor to a furniture knob, as a key chain, on a handbag, on a beaded necklace...the ideas are endless.
I knew I had several cotton fabric scraps, I just needed to add some additional materials from Hobby Lobby.
Here's what I got.

24 gauge wire in brass and copper tones, wooden beads, and colorful marbled beads.
Here's what I already had.

A tub full of fabric scraps, all less than a yard each. Of course, you can purchase your own fabric, I would recommend 1/4 - 1/2 yard of any cotton based fabric you like.

I chose this pretty yellow print cotton. I made a few snips with my scissors on one long end of the fabric. This is where I started my pulls.
Just grab one of the snipped pieces and quickly pull it from the fabric. This will result is a straight tear all the way to the bottom.
I pulled 8 pieces in total for this tassel.
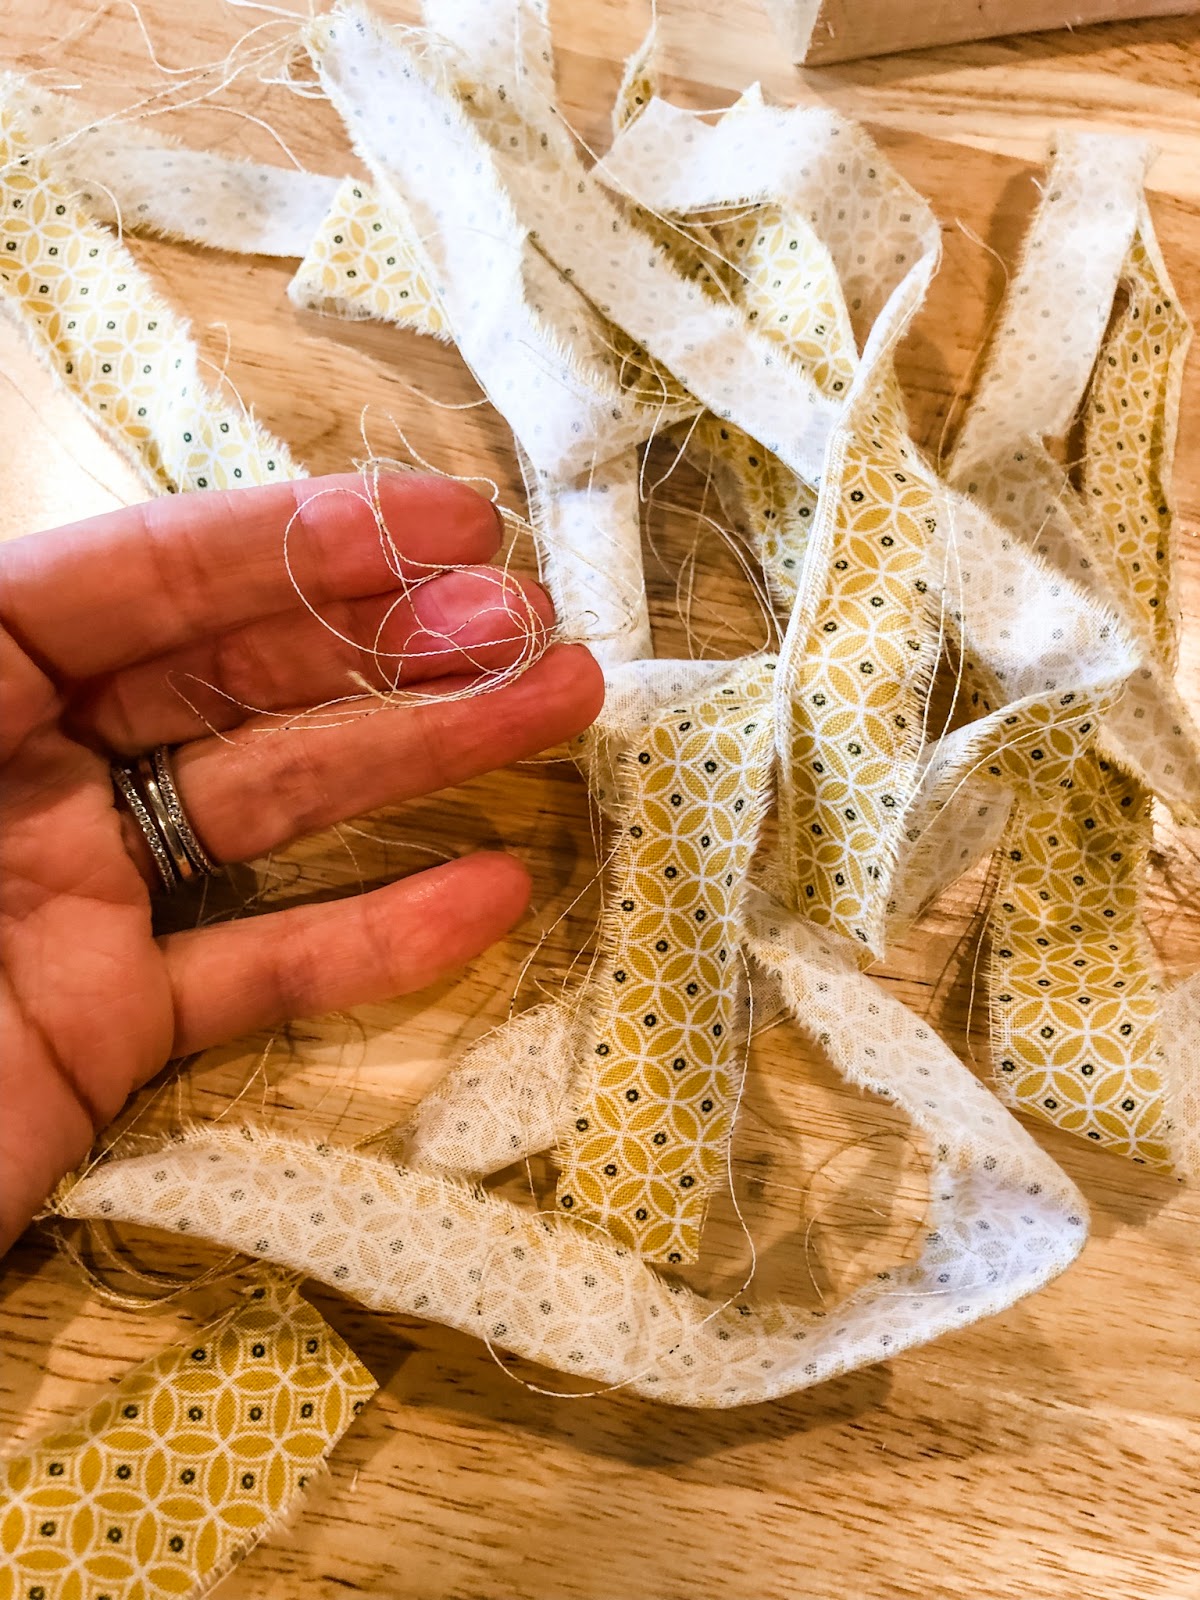
You will notice A LOT of fibers. This is okay.
I simply pulled them all away from the strips and threw them away. (If you want, you can also put them on a bush outside because birdies LOVE to use them for their nests.)

Here's all my strips, minus those pesky stringy fibers.

I then took each strip and folded it in half.

This will give me a point to guide around my wooden bead.

Starting with the first folded strip, I placed the wooden bead inside, WITH THE BEAD HOLE UP UNDER THE FOLD.
This is important...

I took another folded strip and placed it perpendicular to the first strip.

Another strip went diagonal to the first two strips.

I continued to fold the strips over the wooden bead, alternating their placement.
This allowed me to evenly distribute the strips around the bead, creating fullness for the tassely part.
I also kept a VERY FIRM grip on the strips around the bottom of the wooden bead.
The bead hole remained at the top.

Next, I used a piercing tool (you can use an awl as well) to poke and wiggle a hole in the top of the fabric strips, into the hole in the bead.

The hole now allowed me to guide the brass wire, straight from the spool, into the bead and out through the bottom.


I slightly separated the strips to find the threaded wire and pulled it through.

I didn't pull a specific amount, but if I had to guess it was about 14 inches.

Now came the fun part. I began wrapping the brass wire around the fabric strips at the base of the wooden bead.

Once I had the wire wrapped about 3 times, I snipped the wire from the spool at the top. I left about 5 inches here.

I then finished wrapping the lower wire around and around, lining it up as I descended.
I got a nice wrap, fully securing the fabric around the base of the wooden bead.

I use my wire tool to shove the snipped end up into the wrapped part.

I laid my tassel down and cut across to make the ends even.

At the top, I chose a gray marbled bead and threaded it on the brass wire.
I then wrapped the wire over and through the hole again, securing it to the top of the tassel.
This wire is easily pliable so it was easy to do.

I then looped the rest of the wire twice around the handle of my piercer tool, creating this loop. I twisted the rest of the wire around these two loops to finish it off.

I cut about 8 inches of gray ribbon, folded, and looped it through the wire topper.

I knotted the top and trimmed the ribbon to finish it off.
And...
I was done.

I'm giving this one as a gift, but I will be making a few more to decorate some gifts that I am giving in the near future.
I'm also looking to make a colorful tassel using a variety of fabrics together.
I think I'm going to decorate a straw bag to use for the summer.
I love it when Pinterest inspires me...


Post a Comment