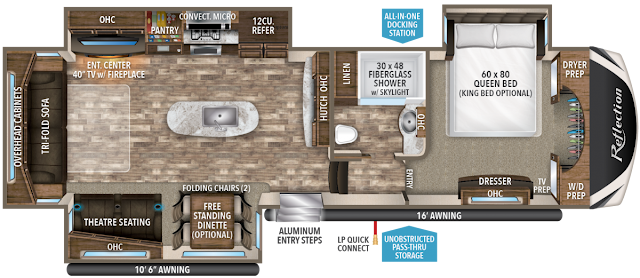
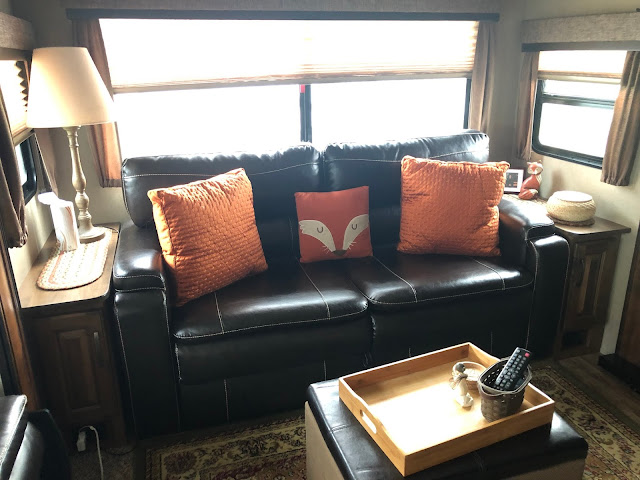
While traveling and staying in our RV is one of my favorite things to do, as with any RV, space is limited.
You need to think creatively in order to maximize your space while keeping with your chosen decor.
In my kitchen, I had unused space where the stove was located. It has a glass cover, which is great, but I didn't want to put anything on it for fear of breaking it.
So... I came up with a solution.
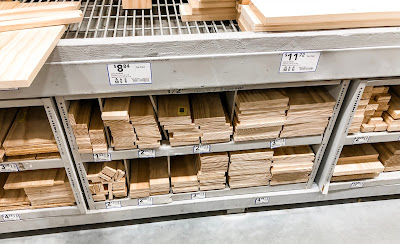
I made a quick trip to Lowes to purchase some wood in their craft wood section.
You can find these precut smaller boards in the wood area. They were perfect for what I had in mind.
I grabbed the 24-inch long pine boards.
I got 5 of the 4 inch wide ones and 3 at 2 inches wide.
I did a semi-mock layout to make sure that none of the boards were warped.
Home I went.
I removed all the stickers from the boards. These tend to leave a bit of residue, but that is easily sanded off.
I made an "X" on the back of each board so that I would know which side was which.
I did this after inspecting the boards and picking the "better" side for my top.
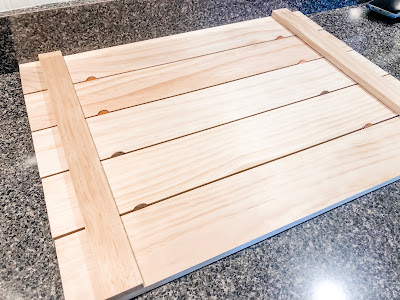
On my kitchen counter, I "stacked" the 4 inch wide boards from front to back.
I used 2 pennies to create the width between each board. This was strictly the width that I wanted, but there is no hard and fast rule.
Using the 2-inch boards as guides, I straightened and squared the 5 boards.
I did this on both sides, essentially "sandwiching" the pieces square.
Since the 24-inch length was too much on the 2-inch boards, I made a pencil mark and used my chop saw to cut them down to the length needed.
I laid these out on each side of the top to get an initial feel of what I had in mind.
I found an old matchbook in the junk drawer and used that to create the width from the side to the bracing board.
It's not technical, it's just simply easy.
I flipped the bracing board over and put dots of Gorilla Wood Glue ONLY where there would be wood to wood contact.
I avoided the gaps created by the pennies. I didn't want wood glue oozing down into those gaps.
Once they were glued up, I flipped them over and used the matchbox to once again position the brace.
I let it dry overnight then added a few finish nails through the back for added security.
I placed a piece of lathe strip (I already had) in the front, evening it up with the bracing boards and hanging it a bit below the bottom.
This will be the front and I want it to "catch" on the edge of the stovetop.
I added the other 2-inch piece to the back, flush with the bottom. This created a raised lip for the back of the stove area.
While all of this was drying, I made a trek back to Lowes to get some paint.
I grabbed this beige color sample pot that was already made up and on display.
I painted the entire cover two times.
It could have been done at this point, but I wanted to give it a bit more character.
Using a sanding block, I distressed areas on the cover that would have naturally been worn over time.
These included the braces and edges of the entire cover.
It exposed natural wood, which is what I wanted for the next part of this build.
I pulled out my Antiquing Glaze and began rubbing small globs of glaze over the cover.
I used an old white undershirt for this part.
The trick was to rub on and then rub over and off, moving the glaze around the piece to age it.
It looks different on the painted areas versus the sanded areas, but that is why the sanding is so important.
To avoid the piece looking "dirty" with the glaze over the paint, I used the same cloth to dry rub some more of the paint onto the piece, over some of the glazed areas.
To finish it off I added 3 strips of corkboard that I already had.
These were glued using the same wood glue and work perfectly to keep the wood from scratching the glass stovetop.
When I was done, here's what I had.
After a thin spray of polyurethane, it was ready to go on the stove in the RV.
I love it and look at all the extra room it gives me.
24 inches of extra room to be exact.
We don't travel with it on the stove but store it between the recliner and wall. I don't want to risk the chance of it breaking the glass cover.
This was an easy and light skilled needed project that now gives me more versatility with prep in the RV kitchen.
Happy travels ahead!
