Yep...
I got microbladed!
I've been wanting to do it for quite a while, but I wanted to feel comfortable and have the results that made me look natural and not like this...

All joking aside, I wanted it to feel natural and not contrived. I wanted it to look authentic. I wanted it to look like me, only better... with a definitive eyebrow that wouldn't scare my dog.
So, what is microblading?
Here's how it's defined in the dictionary:

I was a "best candidate" because I had extremely sparse eyebrows with areas of no hair due to my thyroid condition. I had to draw on my eyebrows every day, even when I wore no make-up and was going to the gym.
Here's my experience in SEVERAL photos.

It starts with some numbing creme placed over your eyebrow area. This must stay on for a bit and will usually be applied prior to you going back to the room where the process will occur. It doesn't sting or hurt, it just feels like lotion on your eyebrows.

Now here's my favorite part.
Remember when you asked your math teachers why you were learning all this needless stuff because you would never use it...
You were wrong.

There is so much measuring, calculating, and gauging going on to create the outline for your perfect brow according to the lines and planes of your face.

In fact, this is the LONGEST part of the whole procedure and can (and should) take the most amount of time.

Because all of our faces are unique, carefully measuring and using precision tools will allow your professional to get the best eyebrows for you.

Our faces are not symmetrical.
My nose is slightly bent to the right, as you can see here in the photo. Things like this have to be taken into consideration because the nose is used to balance and measure the brow placement.

As each measurement is marked with a removable grease pencil, measurements are gauged back and forth between each brow.
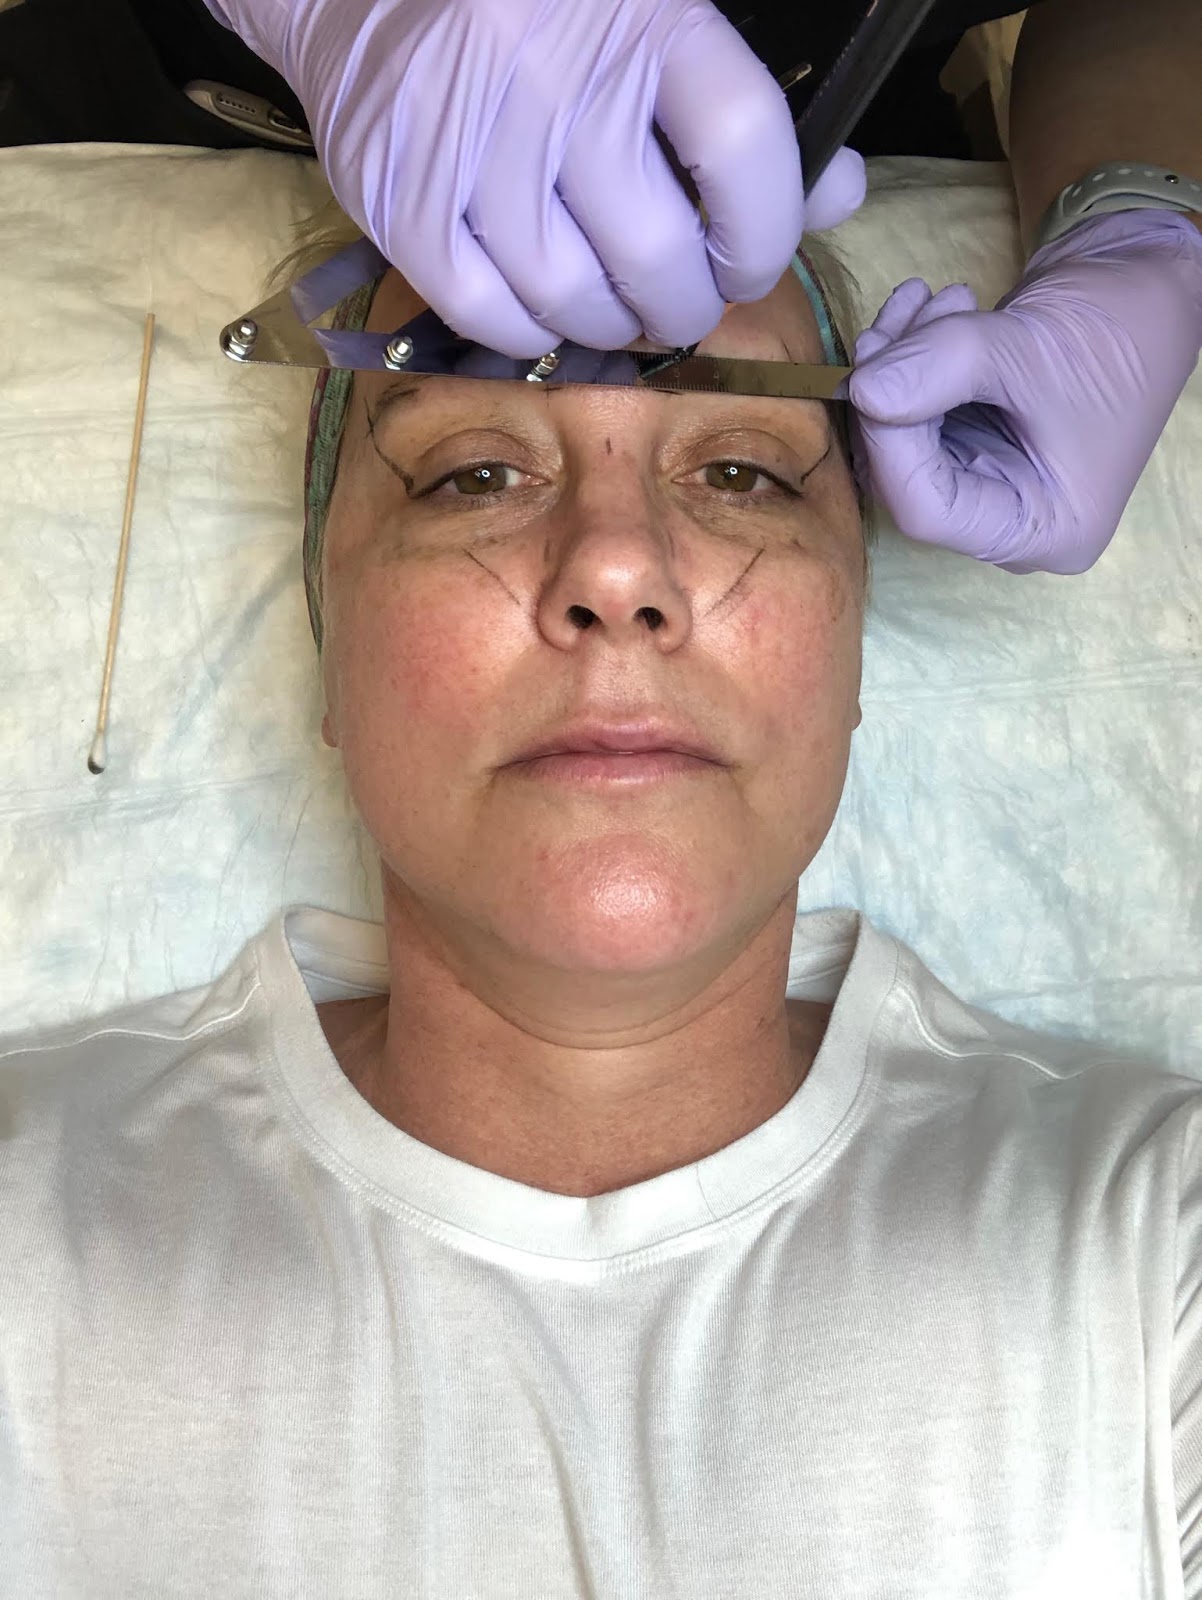
The gauge is adjusted and used as both a tool to measure the brows as well as a straight line to create the brow outline.

Considering that the skull is also several different three-dimensional planes here, there was marking all along the different planes so that they could be "connected" with the pencil.

Once that was all marked, the actual rough outline of the brow area was created. At this point, cotton swabs were used to clean-up the placement markings, while they were also once again checked with the gauge.


All of that finally leads to this.
I know it looks very graphic and silly, but it's the general shape of the best-fit brow for my face and is really only an outline for drawing the fine hairs on the eyebrow.

Now comes the real part of the procedure.
Emily Coleman of the Renaissance Spa Peninsula Plastic Surgery (Salisbury, MD) did my microblading. She is FABULOUS.

Here she is using her special "goggles" to magnify the area while she works. She used the microblade to make the fine, superficial cuts in the outlined area which resemble fine hairs.

She carefully matched the dye to what my natural brow would be, and that was placed in the little cup on her finger. It kind of reminds me of the same set up with the toothpaste at my dental office.

Emily moved back and forth between each brow while she worked.
A few cuts on the left, followed by very similar cuts on the right.

As she worked she added in bits of the dye to basically semi-tattoo my eyebrows.

It was a cut, cut, cut, dye, wait, and wipe situation.

At one point, I was Groucho Marx' sister. LOL

But as she worked, the eyebrows revealed themselves.

Until this is what I had!
Here's a great before and after that Emily took:

Can you believe that those are not real hairs?
It was like angels singing when I compared the before and after photos.
I was given instructions to use a purchased creme on my brows while they healed. I was also cautioned that they may darken and then scab over.
Let me say for the record that I had no darkening or scabbing. They look as good now as they did the day I walked out.
So let me answer a few questions I am sure you have.
Yes, it did hurt, but not like crazy, birth-giving hurt. More like scratching kind of hurt/discomfort. Not unbearable at all in my opinion.
Yes, I do add additional brow pomade to my brows when I apply make-up. They are natural looking, not full face make-up looking. No, I don't apply anything to them when I'm bare-faced.
Yes, you do need to do a follow-up appointment in about 6 weeks to do any refinement. That's included in the cost.
Yes, you may consider them costly, but it's a matter of budget and personal preference. Research, and don't go with the cheapest.
Yes, they can last up to a year, but it also depends on you personally and how you "wear" your brows.
And finally...
Yes, I will do them again when the time is right. It was money well spent.


Post a Comment