This past Mother's Day was quite different than any in the past.
A lot is going on in my personal world (downsizing, prepping to move, selling our home) and in the outside world...hello Pandemic.
We've been adhering to expected behaviors by limiting our time in stores (groceries and carry out specifically) and I have not been shopping for other items no necessary to daily life.
This included shopping for a Mother's Day gift.
Since we are downsizing, and there are MANY things we are not taking to the new house in Utah, I decided to create a gift for my mom using only what I had on hand.
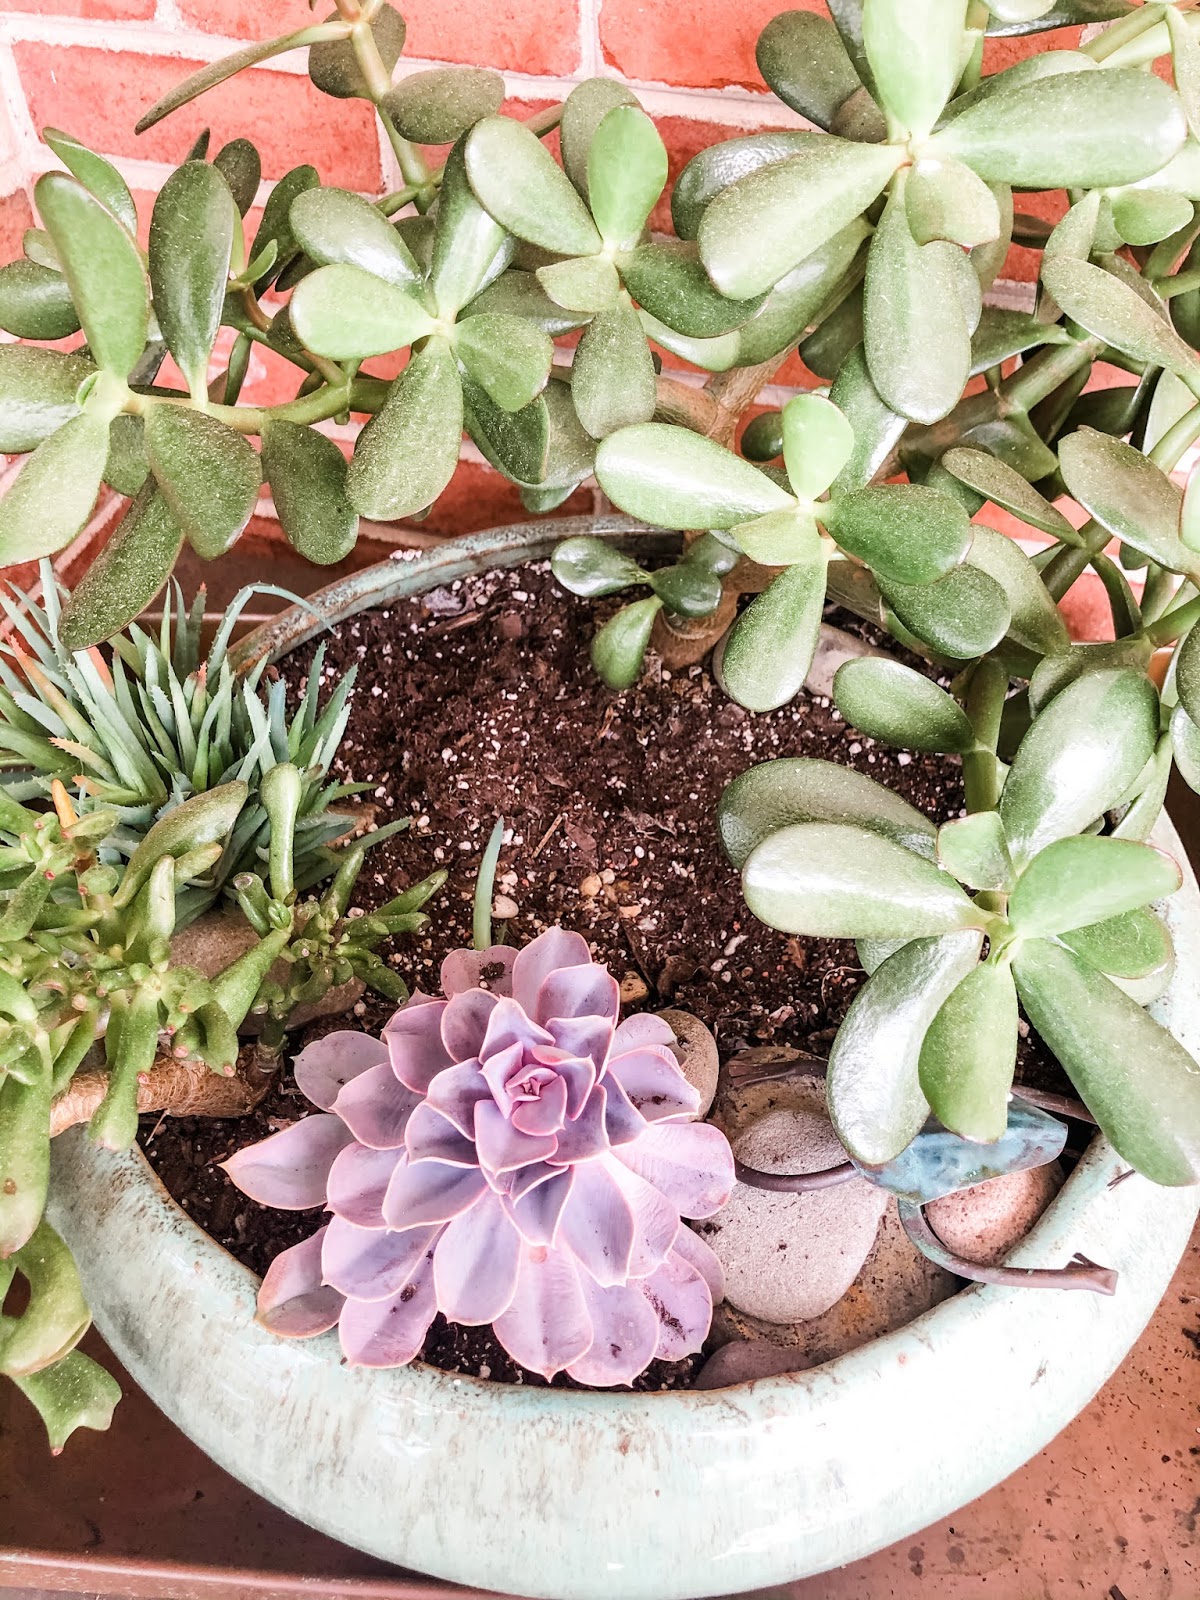
I realized the best gift would be to repurpose some of my succulents into a beautiful little garden which meant I would be "gifting" them to her along with items that I already had.
Many of these succulents were grown from babies and grafts that I tended to myself.
So I rolled up my sleeves and got to work.

After the long winter months, many of my succulents had reached for the sun and were quite leggy and spindly.
Succulents will do this IF they need to and while they are perfectly healthy, they do look a bit ragged and will NEVER go back.
But all is not lost when they do this.
With so careful pruning and understanding of how succulents cultivate, anyone can have a green thumb.

The first thing to do I snip off the growth.
You can use each one of these leaves to cultivate new roots and grow a new plant (which I did last year) but the easiest thing to do it reuse just the top part that resembles a flower.
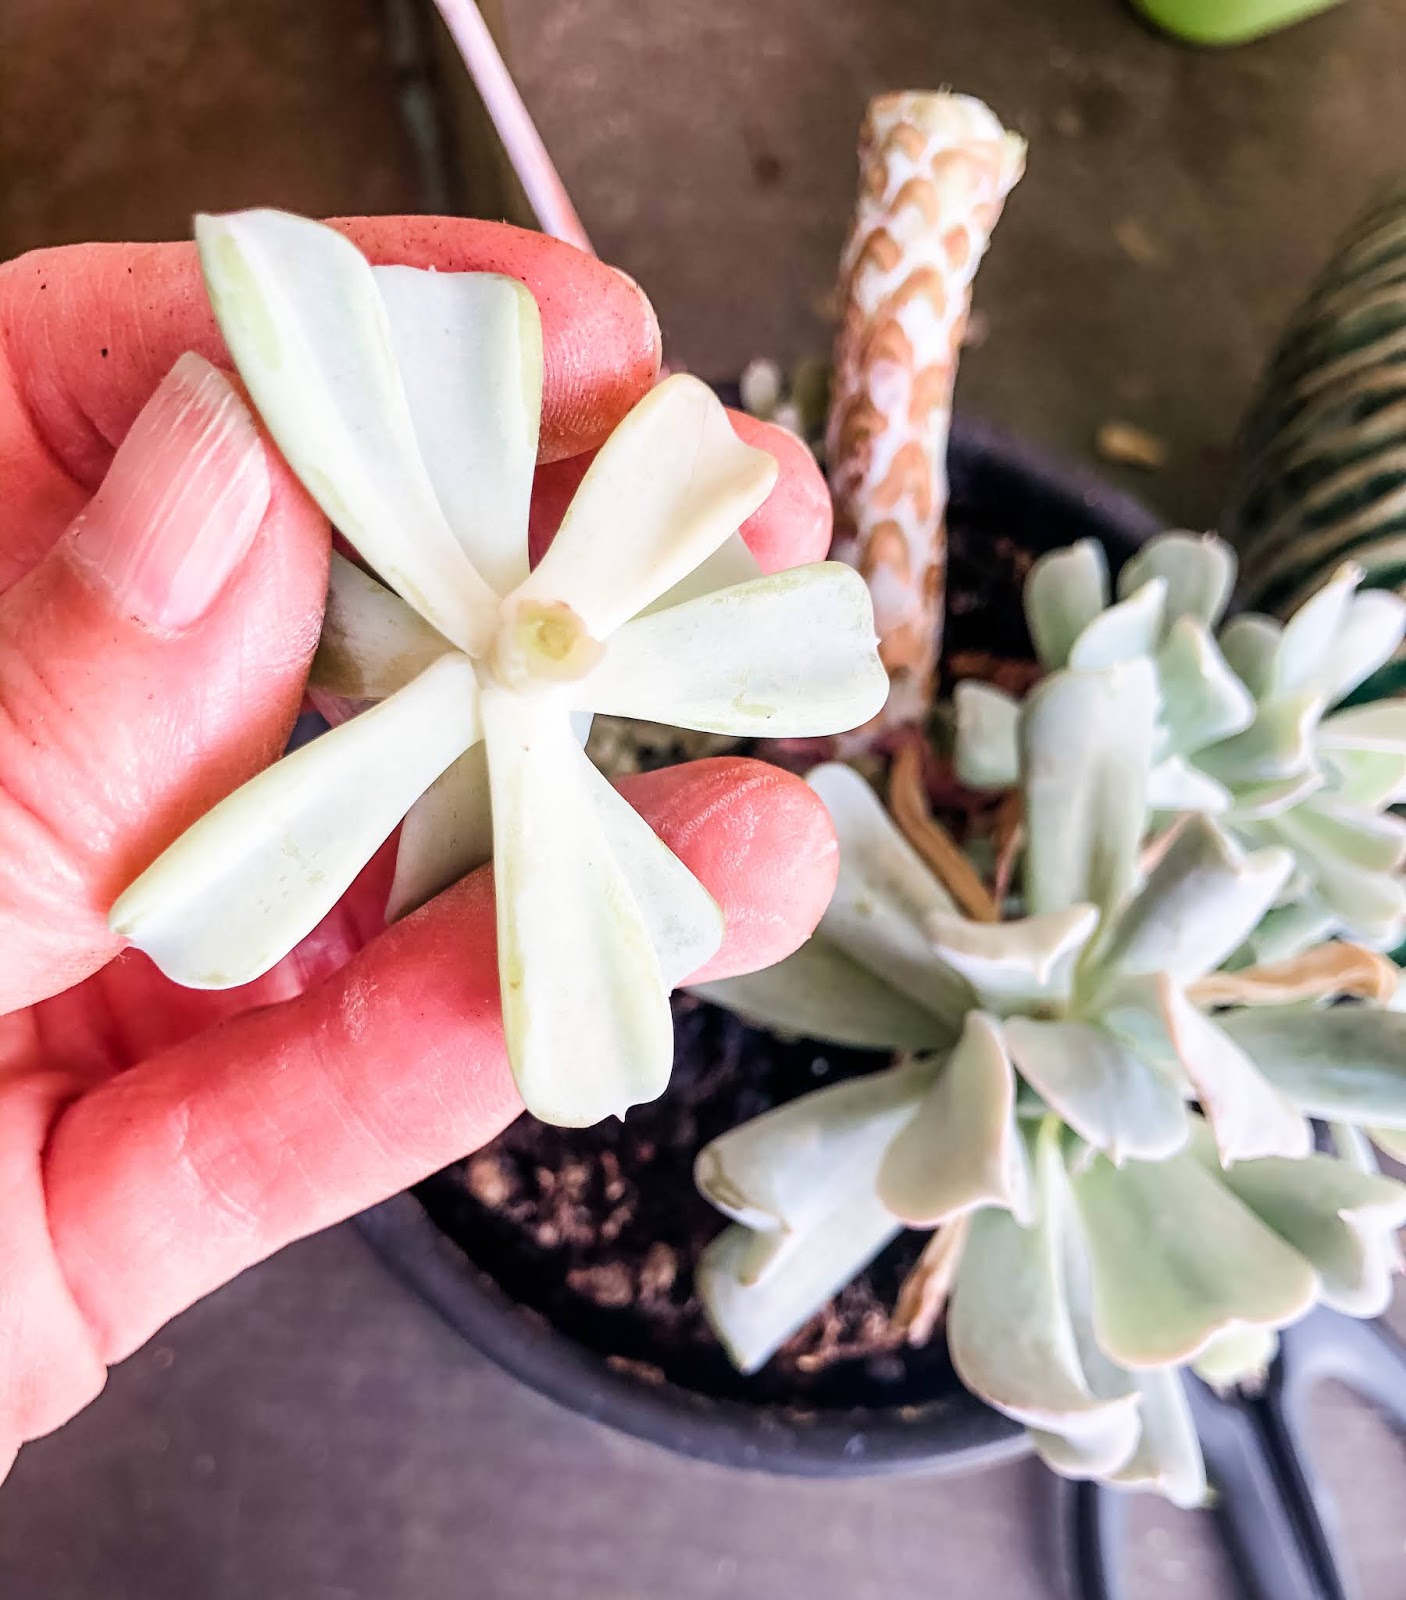
Here, I removed the bulk of the stem, taking it down to just about 4-5 mm below the bottom row of leaves.
You can also pluck the leaves off here so the succulent doesn't have to expend too much energy towards the leaves and not enough to root growth.

From the side, you can see the length of the stem.
I love that the top still looks pretty and shows no sign of damage.

I never forget to snip a few of the babies that are growing as well.

These dime-sized plants look great nestled in and among rocks as you will soon see.

I took apart 4 different planters of succulents to cultivate this many plants.
I took the yellow McCoy vase and added some additional succulents which will get added to the whole arrangement.

Last year, I had this pedestal planter that needed a good spray of black spray paint for this year, but otherwise was perfect for the low mini garden idea I had.

I also had just enough Succulent potting soil to raise the soil level in the container to the appropriate height.
(I love it when the stars align and it all works out!)

I placed the yellow planter first, leaving room behind it to plant as well.
It will be seen from all sides.

I then added my larger plants.
This allowed me to see how much space is left for the smaller plants.

I used the planter to create a "swirl-like" theme of tall to shorter in the front.
It gives the planter a sense of movement and style.

I went along and added some high to low touches behind the yellow planter as well.

As things grow, mom will be able to prune and start additional planters if she likes.

In the front, I took some pebbles and started a "pathway" on stones towards the yellow planter.
It's a great way to get texture through "hard-scaping" that's commonly used in landscaping projects.

It also allowed me to build up areas of soil among the rocks where I could place my baby succulents.
When watering, using the rocks to disperse the water among those babies allows them to stay in place until they root well into the soil.

Plus, the tan rocks against the blue of the succulents is so pretty.

I made sure to look around and through different aspects of the planter to see if there were any spaces that appeared bare of needed a zhuzh.
I was happy because I had this...

The perfect Mother's Day planter using great stuff I already had on hand!
I recycled and upcycled to give everything a new life!
It's a Win*Win!


Post a Comment