Red truck decor is "big" this Christmas season.
From ornaments to fabric, the red truck with the Christmas tree in the truck bed can be found all over.
My mom wanted to do this as her theme this year and requested that I make her a wreath for her front door.
Here's how it all happened.

We first went on a little trip to Michael's to gather the items we would need.
This included the ribbon, the wreath form, and the picks.
Mom found the truck at Dollar General.

I started by "fluffing" up the wreath.
It's important to work through each and every branch of this type of wreath, bending and bowing the wires to resemble real branches.

When fluffing up the branches, you want them to go in on direction (here they went to the left), but you also want to make them go in all directions.
Some should poke down, poke into the center, poke up, and poke out.
The trick is to make it as natural-looking as possible.
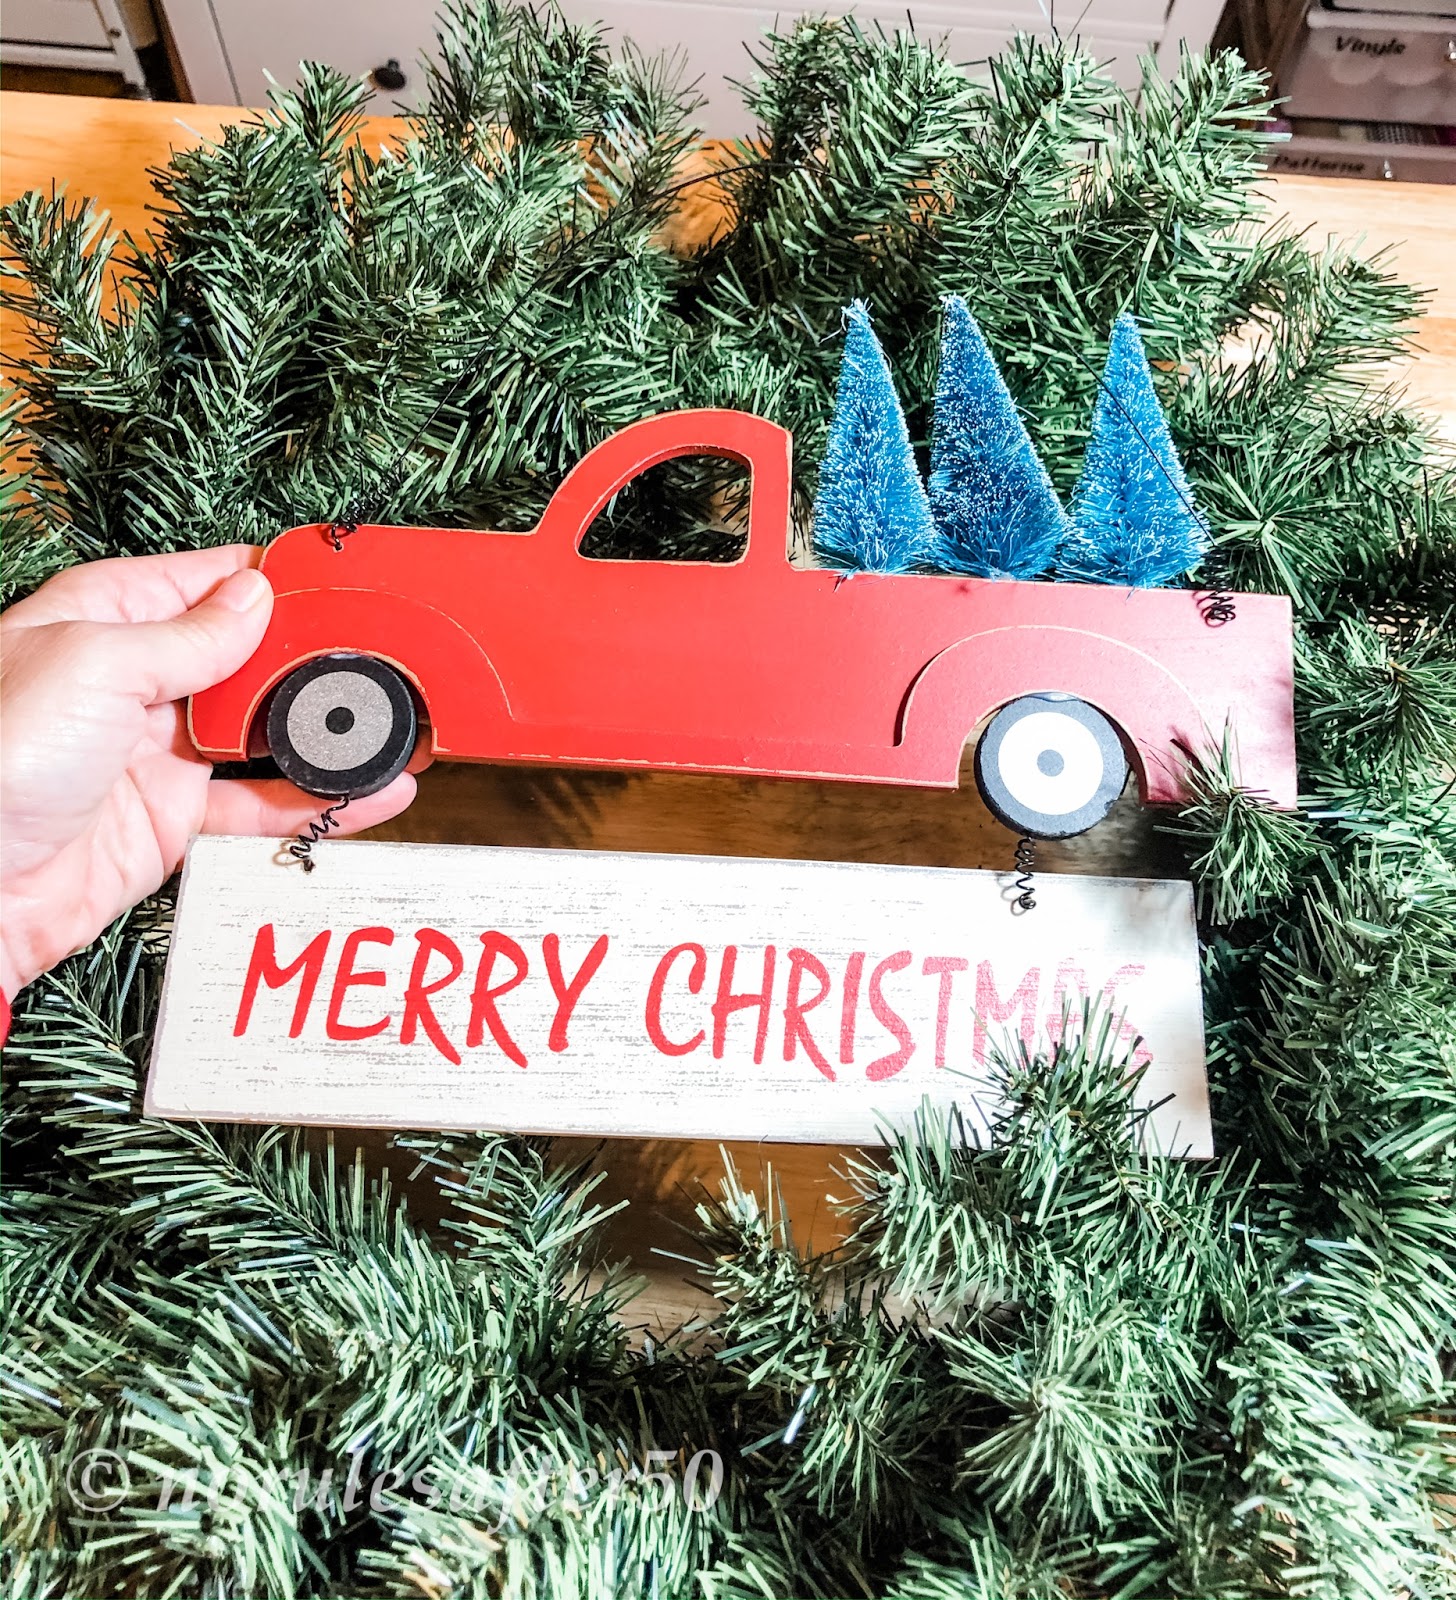
I next placed the largest element, the truck, in the center of the wreath so that I could get a sense of how it was going to lay among the branches.
I did not affix it to the wreath yet.
I laid it to the side for placement later.

Starting with the white frosted picks, I laid them over the branches to see how I wanted to eventually attach them.
These are the "base" for the other picks.
The white creates a great contrast between the green wreath and the other elements found in the other picks.

Satisfied with the placement, I bent and separated the white pick branches to place into and among the wreath branches.

Bending them let me follow the natural curves of the wreath and compliment all the fluffing I did earlier.
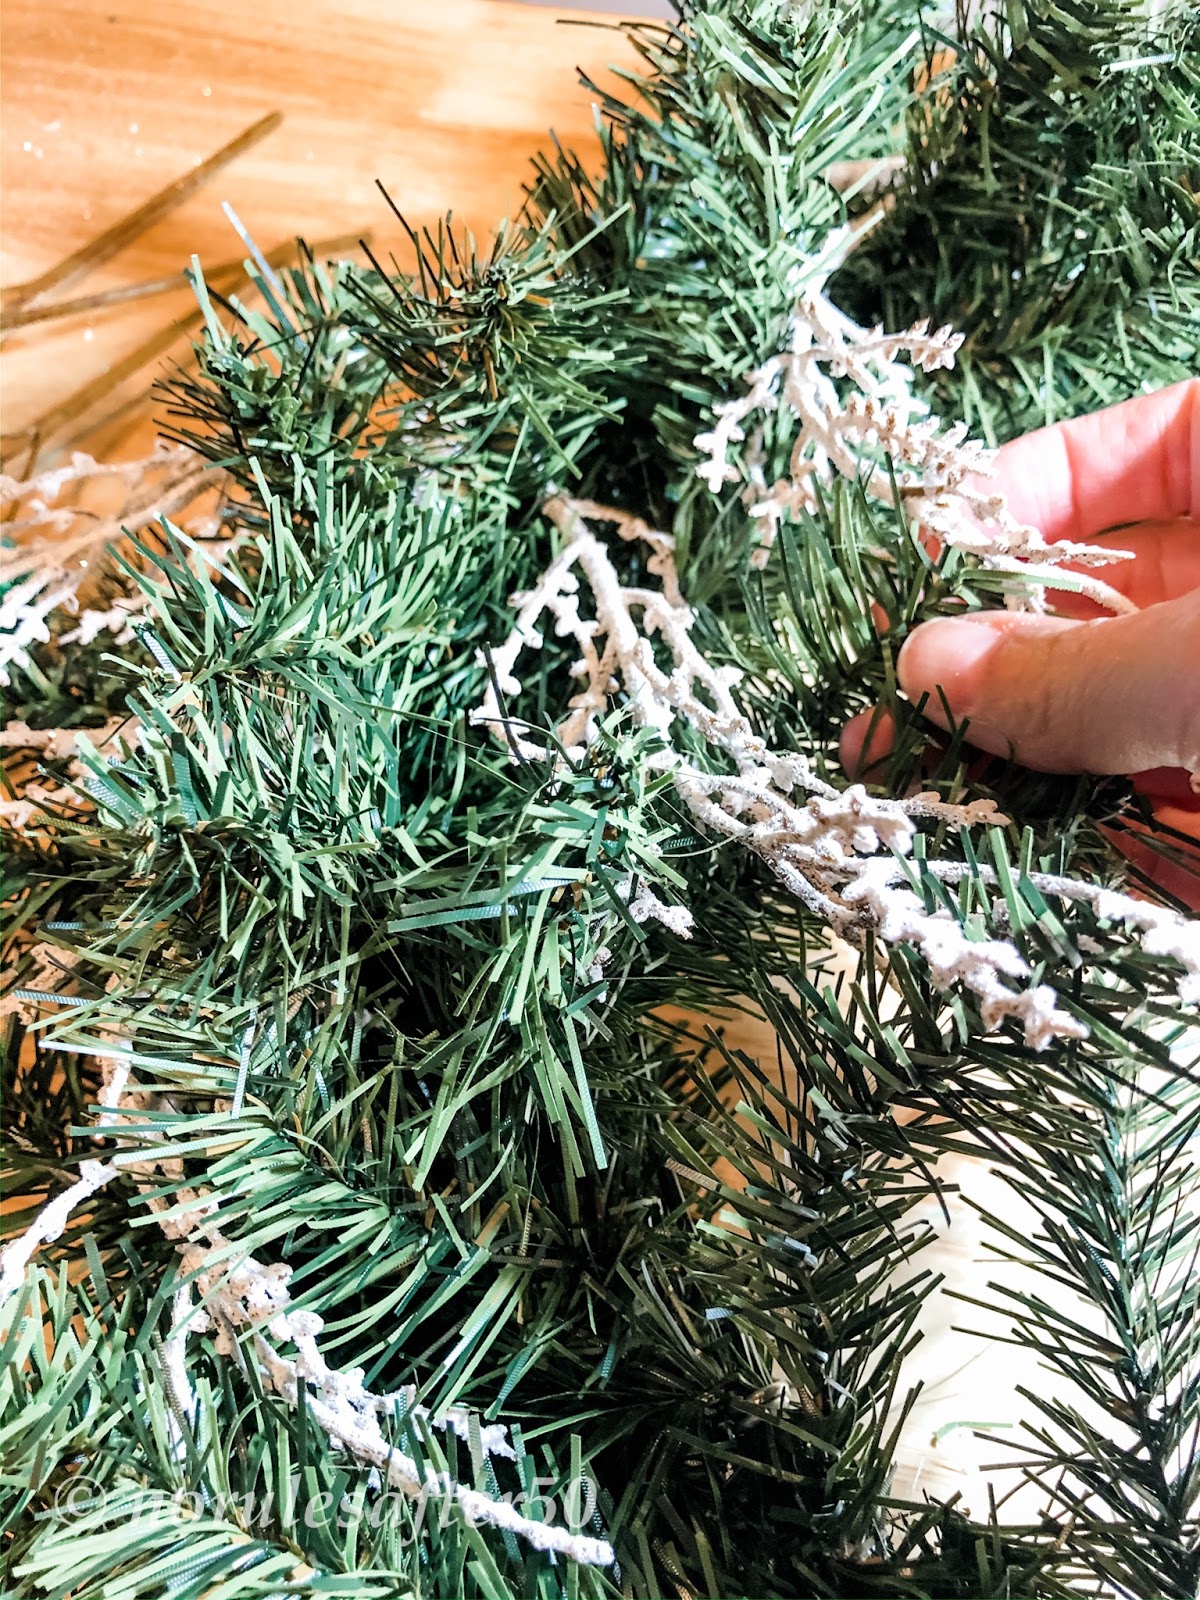
I made sure to have the "buried" in and among the branches, coming out and around the wreath.

I brought them down the right side a bit longer than the left.
In nature, things are not always even. I wanted the eye to follow the curve of the wreath and give it a slightly asymmetrical look.

I added some hot glue to the end to attach it firmly to the wreath.

Next came the berry picks.
These had some frosted leaves in a sage color which played well with the dark green wreath and the white frosted branches.

From the side, you can see that the branches and picks are converging together well.
Nothing is sticking too far up or out, throwing off the eye.

For a big pop of red, I added these single picks of berries.

Of course, pinecones add a great element of brown and whole lot of texture.

Again, I pulled more elements to the right of the wreath.
This left a part of the wreath untouched. This is a great place for your eye to "rest" from the added elements.

Since mom has a great front door mat with a red truck on a turquoise background, I wanted to add the sequined bobbles as an accent element.
It was something fun and unexpected and really popped on the wreath.
Turquoise and red are opposites on the color wheel, so they go well together.

I opted to used the back of the ribbon as the main part showing with the bow.
The "fuzzier" part wasn't as appealing to me.
TIP: When buying ribbon, be sure to check out both sides.
You might like the underside better than the front!

I added the red truck.
I just attached the wire hangar to one of the branches.

I worked some of the elements over and around the truck so that it appeared integrated.

Almost done!
Just a few more pieces to add.

I had some pieces of the white branch left over, so I cut a bit and added it to the truck, under the trees.
Then I added the bow.

I didn't want the bow to have tails.
It would have taken away from the rest of the wreath!

All the was left to do was to hang it on the door.
I recommend that dimensional wreaths are hung on the outside of a door so they don't get "squished" between the storm door and the house door.
Command strip hooks or wreath hangers are a great way to do this without damage.
Mom loves her wreath, especially because it ties perfectly with her theme.
Merry Christmas!


Post a Comment