One of the things that I truly DON'T enjoy is having my own yard sale.
Guess what we did this past Saturday...
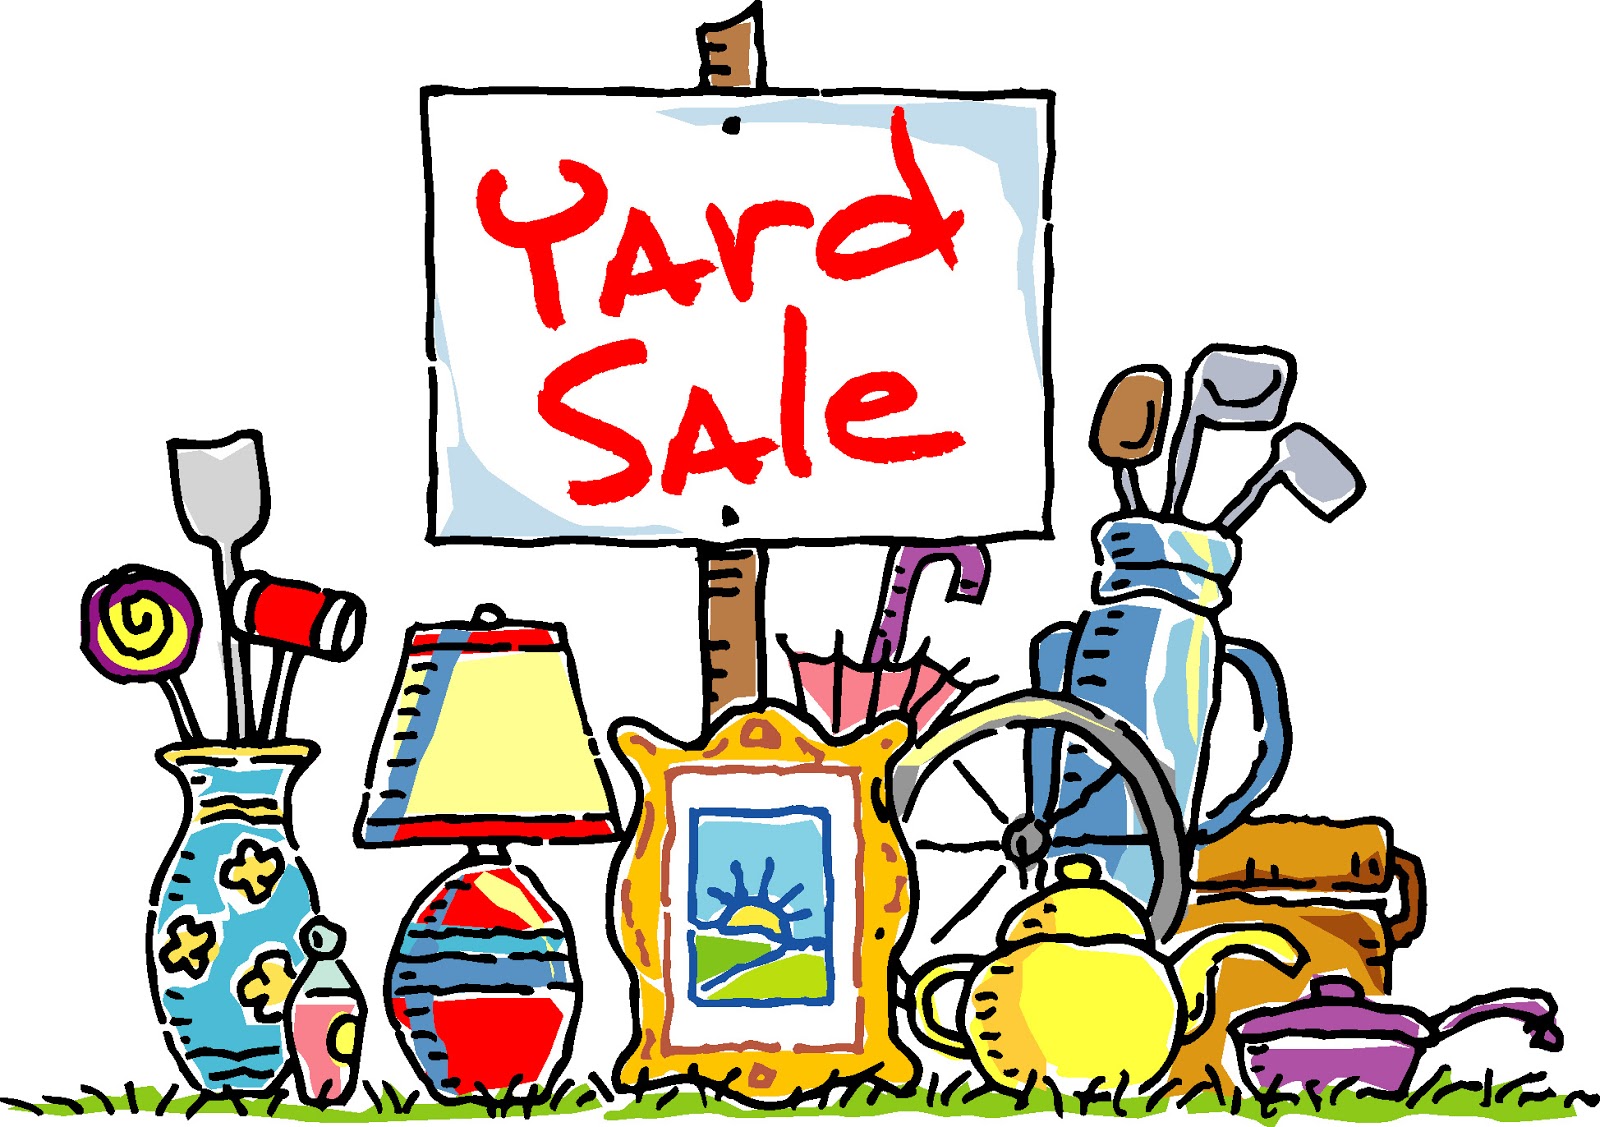
Yep, we had a yard sale.
 |
| Credit |
I guess we technically had a garage sale since everything was housed in our garage.
While I was prepping for the sale, I decided to create a blog post to take you through the organized set-up, pricing, and selling of your own yard sale items.
Let's get started!
STEP 1
Pick the date you want to have your yard sale.
If you live in a neighborhood, ask a neighbor if they want to have one with you. This way, you can advertise it as a "multi-family" sale. This entices more buyers to your sale first thing. Yard Sale People are always on the lookout for those listings because it means more stuff in one stop!
I would also consult google to see what they are predicting for weather at that time. I realize this is still a chance you take, but if you have somewhat of an idea, you can plan a bit better.
Make sure if you are also "allowed" to have a yard sale. Some deed-restrictive communities don't allow them, BUT, they may have a community-wide yard sale date already set aside.
Decide how you will advertise your sale.
We have a local publication that places online and printed ads for a fee. I also took some photos and placed 2 notices on my FaceBook feed. Using free social media is a great way to alert friends that you are having a sale.
You may also want to see if there are some local businesses that will place a flyer or sign in their window as well.
STEP 2
Decide IF you have enough stuff for a good yard sale.


The only way to do this well is to gather all the items you want to sell in one pile, somewhere in your house. We placed all of our items in the garage. My car had to spend a week outside in the driveway, but it was well worth it.
The reason you want to get all your items together is this:
1 - You can assess if you have more than 100 items to sell (usually a good starting point to make the time and effort worth it).
2 -You can be inspired to "shop" your house many times over to see if there are additional items to add to the pile.
3 - By having all your items in one set spot you are not driving yourself crazy with boxes and stuff all over your house!
STEP 3

Set up your tables in the shape that you want them, in the area where you will be having your sale.
IF you do not plan on having your sale inside your garage, you can still set up your tables and then two people can move them out first thing in the morning.
If you must set up outside, without a covered structure, you can just place tarps or beach towels over the tables if you have a secure neighborhood.
We've done both before and it worked out either way.
We set our tables up in a U shape. Our neighbor next door graciously lent us two folding tables, we had three already, and we use 2 saw-horses and an old door as a sixth table.
STEP 4


Once the tables are set, start placing your items on top.
Place like items together either by similarity OR by subject.
For example, all my baskets were together on the back table. Stacked on top of each other as well as larger baskets on the floor below. If a buyer was looking for baskets or cute storage, they could see it all at once without "hunting" for it.
All the items that were kitchen related were placed on two tables, all together.
You want to stage your sale like a store stages their items... Like with Like.
It's a brain thing. People will walk in and quickly scan your tables, looking for something that grabs their eye IF they are not looking for something specific. If your items are willy-nilly placed, the eye will graze right over them and the brain will not comprehend what it's seeing. When your eyes see like/similar items altogether, it will send a signal to the brain to stop and look over all those like items.
This gets your buyers interested in what you have and they will pause and really look at what is on your tables.
Remember to use the valuable real-estate below your tables for larger items. I used a plastic tarp to cover the garage floor while I placed pillows on top of it.
STEP 5

Start a box of items that you decide are truly only donation worthy.
You are not going to sell everything you price and display. As you start to group your items, some items are just not worth the time and effort. Place them aside in your donation box.
More than likely, you are going to donate all your unsold items at the end of your sale. (We decided that what didn't sell was not going back into the house, but was going to our local Teen Challenge Thrift Store. We will use the tax-deductible donation on our 2019 taxes.)
At the end of your sale, you can add the non-sold items to this box until it's full and take it all to your local charity.
STEP 6

NOW is the time to price your items, when everything is set up and ready to go.
Take your price labels (Amazon or Dollar Tree), start on one end, and place a sticker on every single item as you go around your tables. Don't spend too long thinking about the price for items of you will get stuck and frustrated. I highly recommend that you get pre-printed price stickers and only price in dollar and quarter amounts. don't waste your time with dimes, nickels, or pennies.
I know that some folks like to price items as they are grabbing them from around their home, but I don't think this is a great idea in the long run.
Let me tell you why.
If you start to price items, you will not have consistency in pricing similar items. For example, if I had priced all my baskets separately, on different days, while I was in different moods and distracted with things in boxes, the prices would have been all over the place.
However, IF you put them all together, you can price them similarly and consistently because you will set those prices at one time. People will recognize dissimilar pricing and wonder if something is wrong with your item. This will lead them to start "dickering" with you over price.
I also want to caution you about pricing your items too high.
Here's where we often allow emotion to price instead of common sense.
I realize that you paid "good money" for something that you are now trying to sell for pennies on the dollar. You may feel wasteful and guilty about the money spent OR for the emotional ties you have to specific items.
BUT, think of it this way. IF you used that item and it is no longer needed, then you have gotten "good use for your good money" spent. If you are selling a gifted item that you don't care for, then you are allowing someone else the opportunity to enjoy it. If you purchased the item and you never used it, be mindful when you are out shopping again and ask yourself if you really need the item in your hand or will it eventually end up donated or in your next year sale.
These are tangible things that you will forget about in a few days or months anyway. Give yourself a break. Thank that item for it's service to you (Marie Kondo style) and let it go!!!
STEP 7


Make sure you have your money ready in small amounts to make change for customers.
I use my cooking apron (clean of course) as my yard sale apron. The pockets in front hold my quarters, 50 $1 bills, and a few fives, tens, and twenties. I also keep my cell-phone in there to use my calculator if needed, and to post to social media as the morning progresses.
I used my saved shopping bags to offer to customers who purchase more than one item and I also have some paper to wrap delicate items.
FINALLY
Get up early, check the weather and dress to stay comfortable. Get your coffee or tea and start your sale.
Hubby and I greeted every person who came through.
We saw some folks we hadn't seen in a while and we met a couple of RVers who share some great camping information with us.
Enjoy the day and be happy with the amount you make. It's all relative anyway!


Post a Comment