I was tired.
Like really tired of seeing this hot mess on my office desk every day.


This was a pile of "stuff" that needed to be organized.
Most of it needed to be handled in one of these ways: Trash, File, Keep for future need, Research, Project Idea, Financial Need, and Appointments.
I daily found myself shuffling the pile, or moving the pile, or trying to hide the pile in a drawer; only to need something from the pile and then the hot mess would rear it's ugly head once again.
It needed an intervention ASAP!
So... I decided to create a Task File System with materials that I already had on hand (but I'll break down a Dollar Tree cost for those of you who don't have it at your fingertips) and I got to work.

I pulled out the following: 5 pieces of 12 x 12 scrapbook type paper, Dollar Tree a yellow polyvinyl "envelope," a Dollar Tree zippered pencil pouch, Post-It tabs in white, Dollar Tree large stickers, my Brother P-Touch label maker with white and yellow label tape, and my Scotch laminator and film. I also used my bypass cutter and a ruler.
My goal was to create a divided, CLOSABLE, file that I could move without fear of stuff falling all over the place, with organized sections, and hold my pile of stuff.
I started by measuring the width and length of the envelope because I needed to cut down and laminate the scrapbook paper to make my dividers.
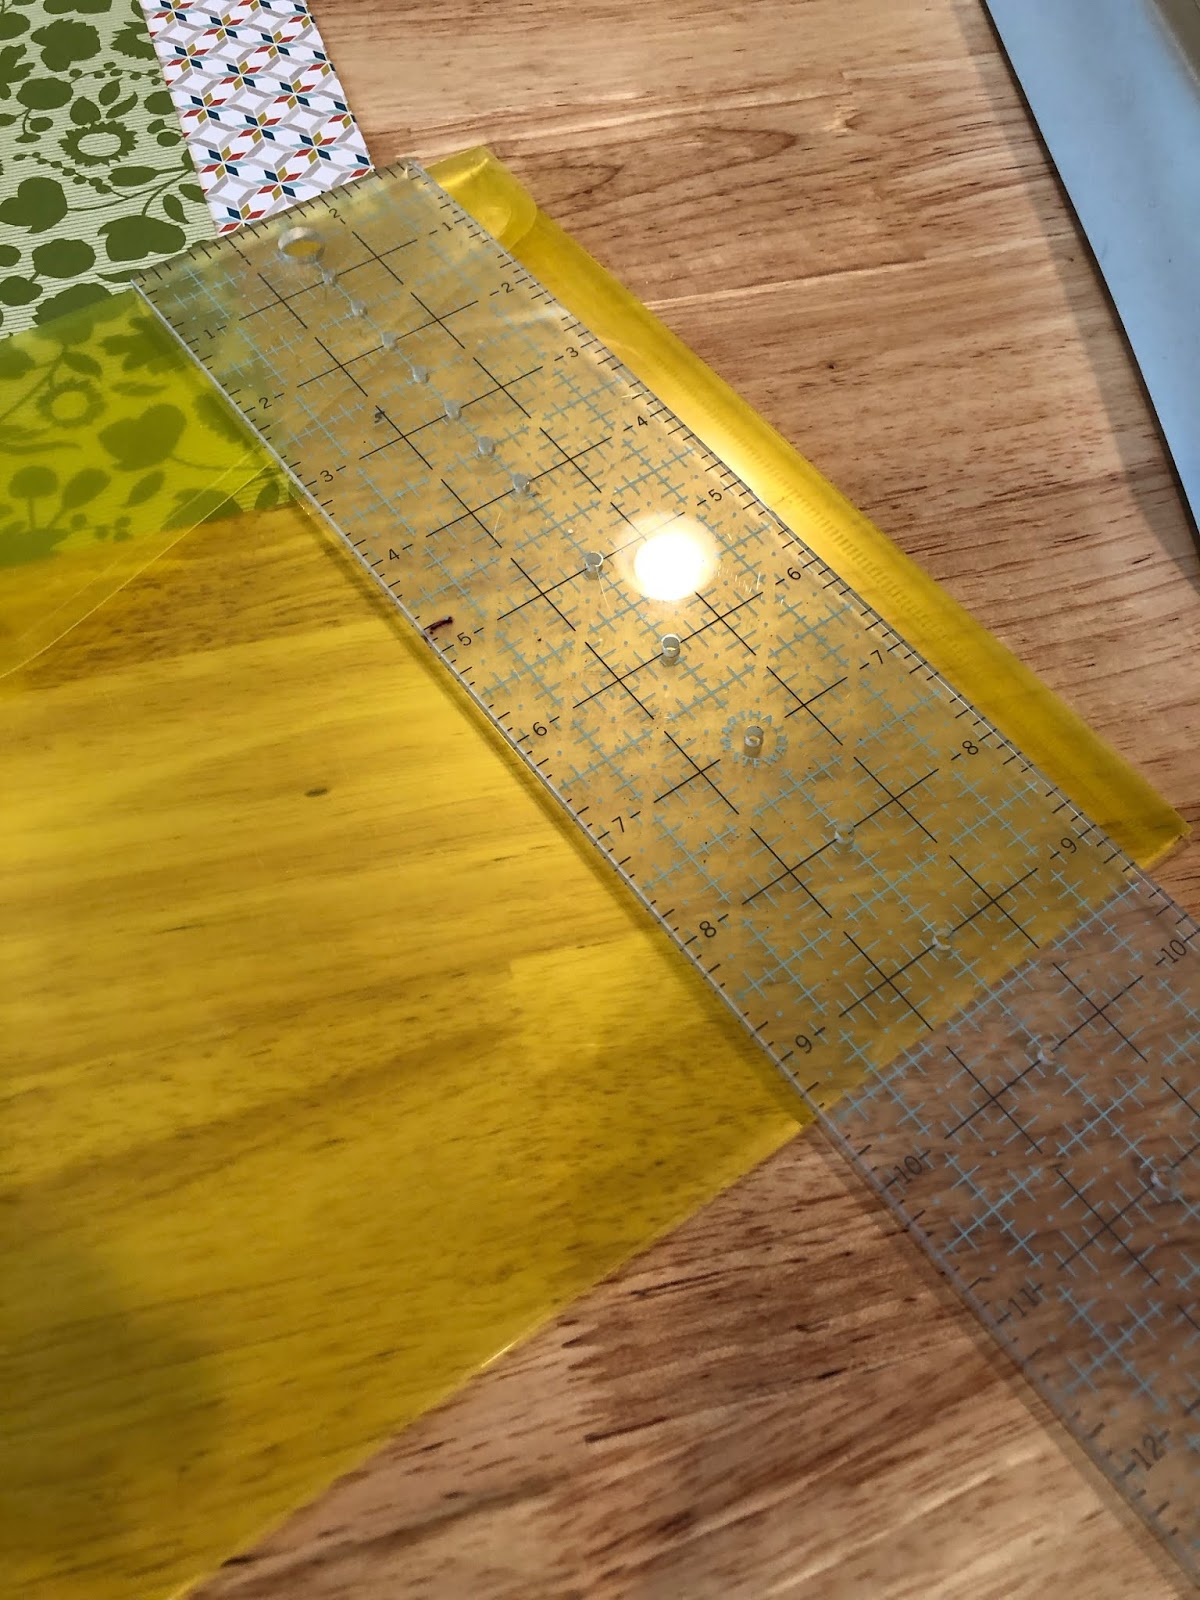

I knew that the measurement from top to bottom was going to have to also accommodate the Post It tab height.


Once I cut the first sheet to the desired height, I then cut the other sheets to match.
They all went into the laminator with the 5ml lamination sheets. This made them a bit stiffer than using my normal 3ml sheets.
I did not trim away the lamination sheet edges to any of my dividers.


Next, I used my bypass cutter to lop off the 3-ring holes on the side of my pencil pouch. I could have left them on, but I didn't want any added bulk to the envelope, especially because I would be adding papers to it later.

I cut near the inside seal, just to the left of the metal grommets. You could also use a pair of scissors to cut this off as well.
Next, I added this cute fox with flora to the front. I am a big fox lover, and when I saw this set of woodland creatures in the home decor section of Dollar Tree, I grabbed them. I mean, they are only $1 and you can't find large wall sticker like these anywhere else for this price.
 |
| Seaford Dollar Tree |
The Dollar Tree has a nice selection if you are looking to add some decor to your home walls, the front of a notebook, a flower pot or vase, or a wooden craft board.
Their selection of faith-based sayings is nice. You could easily refurbish an old frame by using one of these charming sayings and a bit of leftover paint. Or, you could create something for a child's room or bathroom. However you do it, for only $1, these large stickers are great!
Once I had organized the file, it looked like this:

Now, it was ready for this...

Which ended up inside, looking like this...

That messy space, on my desk, to the right of my chair, is now organized and ready.
I have a floppy disc (my 22 year old's baby photos that need to be converted to USB - I'm researching where to send them) and a small slip from Heirloom Restaurant which has their Dinner with Wine pairing nights for the winter season (we want to go with some friends on one of the nights).
The rest of the stuff is organized by the tab.
If I need to add more tabs, I can, OR I can change out the tabs as different things come up.
So, if you don't have any of these materials on hand, here are my suggestions.
Dollar Tree List
Vinyl zip or snap envelope
3-ring tabbed dividers (5 in a set)
Pencil pouch
File labels
(all above can be found in the stationary aisle)
Vinyl stickers
(found in home decor aisle)
Cost = $5
Of course, you can make this project much more expensive if you wanted to. You don't need the bypass cutter or the laminator, or the label maker - those are just things I have on hand from my teaching days.
Whatever option you go with, make it fit your needs so that you can feel less stress!
Break those rules!


Post a Comment