Funny story...
I had a great plan for today's post, but first, I needed to work on the basement and get it back to the clean state I had it in prior to the holidays.
It needed some straightening because it was looking like this:
 |
| Yes, I put this extra large for those of you who know me and think my life is always SOOOO organized... |
 |
| Fooled you!!! |
Yep! My mess was in a hot state of crazy and Christmas needed to be put away. PLUS, we had purchased a Schwinn 270 Recumbent bike and it needed a special place in the workout area that was now housing a lot of this mess
So, I went to work!
But, like many people, as I was reorganizing, pitching, and doing a general clean up, I came across some short pieces of rough cut framing wood and got an idea.
I would make a rustic essential oils holder to put next to one of my diffusers!
(Which is essentially my way of avoiding the bigger mess of the basement and making a smaller mess with a project.)
I gathered my materials. My drill, the wood, spade bits, empty EO bottle, stain, rags, measuring tape and T square, and a pencil.

First I looked over the pieces of wood and selected the one that I liked the best. It had fewer rough edges, and the color was a bit lighter than the others. I wanted my "homemade" stain to really have as pale a background as possible.
Next, I found the center of the wood by marking it width and lengthwise.


This created rough guidelines for the placement of the holes.
Using the EO bottle, I traced around the base and laid out the areas for drilling, eyeballing it as I went.
Was it perfect? NOPE! But it's a rustic build, so perfection is NOT the name of the game here.


Next, I selected the correct spade. I wanted to drill a hole that would accommodate a 15ml bottle with just a little bit of wiggle room all around.
I used both the bottle and the traced circles as a guide.
 |
| Use the guide based on the wide part of the spade bit, not the sharp pointy tip. This pointy tip helps the spade bit to drill the wood and stay in position. See how the bottom of the spade part of the bit is at the bottom of the bottle? |
I also used the blue depth gauge guide on the spade bit as the actual depth that I wanted to drill. Holding it up next to the bottle I could get an idea about how far in to drill.
Tip: When using any type of drill bit, you can use painter's tape to mark a certain depth by wrapping it around the bit as far up from the bit tip as you want to go.
Here, I also checked the depth against the depth of the wood piece. I didn't want to go too far in and potentially crack the wood.

From here, I clamped down the wood (very important safety measure), put on my safety glasses, and began drilling the holes by placing the sharp center bit in the center of the traced circle and firing up the drill.


Once all six holes were drilled I had this...

It was rough and very squidgy around the edges, but I was excited because it was exactly what I wanted. Remember? Rustic!
Enter...the Mouse sander.

This sander is so old I cannot remember a time when I didn't have it. In fact, I've decided to retire it because when I turned it on it sounded like a chainsaw and I knew it was really "squeeking" for me to put it in retirement. I promised I would (hello DeWalt Orbital Sander in my near future) but asked it to do this one last job.
It happily obliged my request...

I made sure that all the edges were smooth and that the holes were smoother, but still had a handmade look. I wanted that rustic look and I got it.
Now onto staining.
My "homemade" stain is really a bunch of same brand, different stain colors, mixed into one purchased metal quart can. It's a pretty darkish stain that's perfect for projects like this one.

It picked up the darker elements in the wood and left the lighter parts a mid-toned golden brown.
Once it dried, I glued a piece of cork to the back to protect whatever surface I placed it upon.
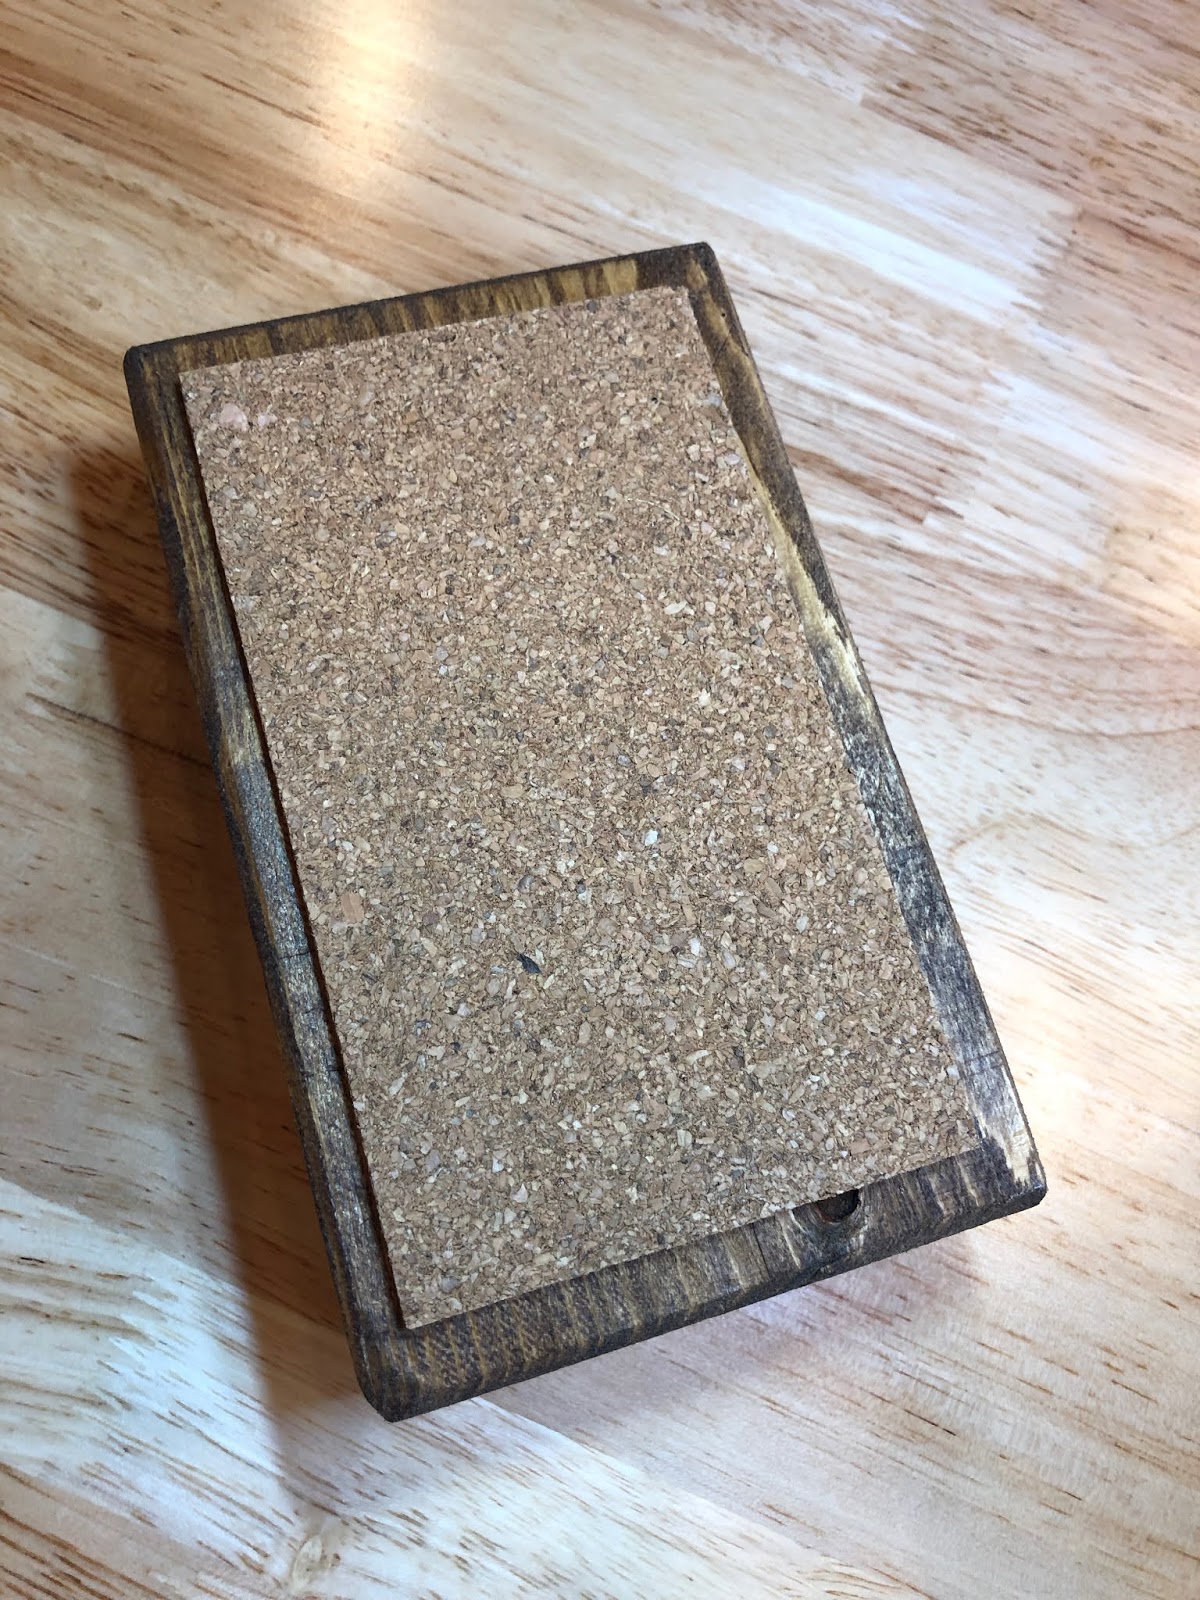
Then...
TA DAAAAA!

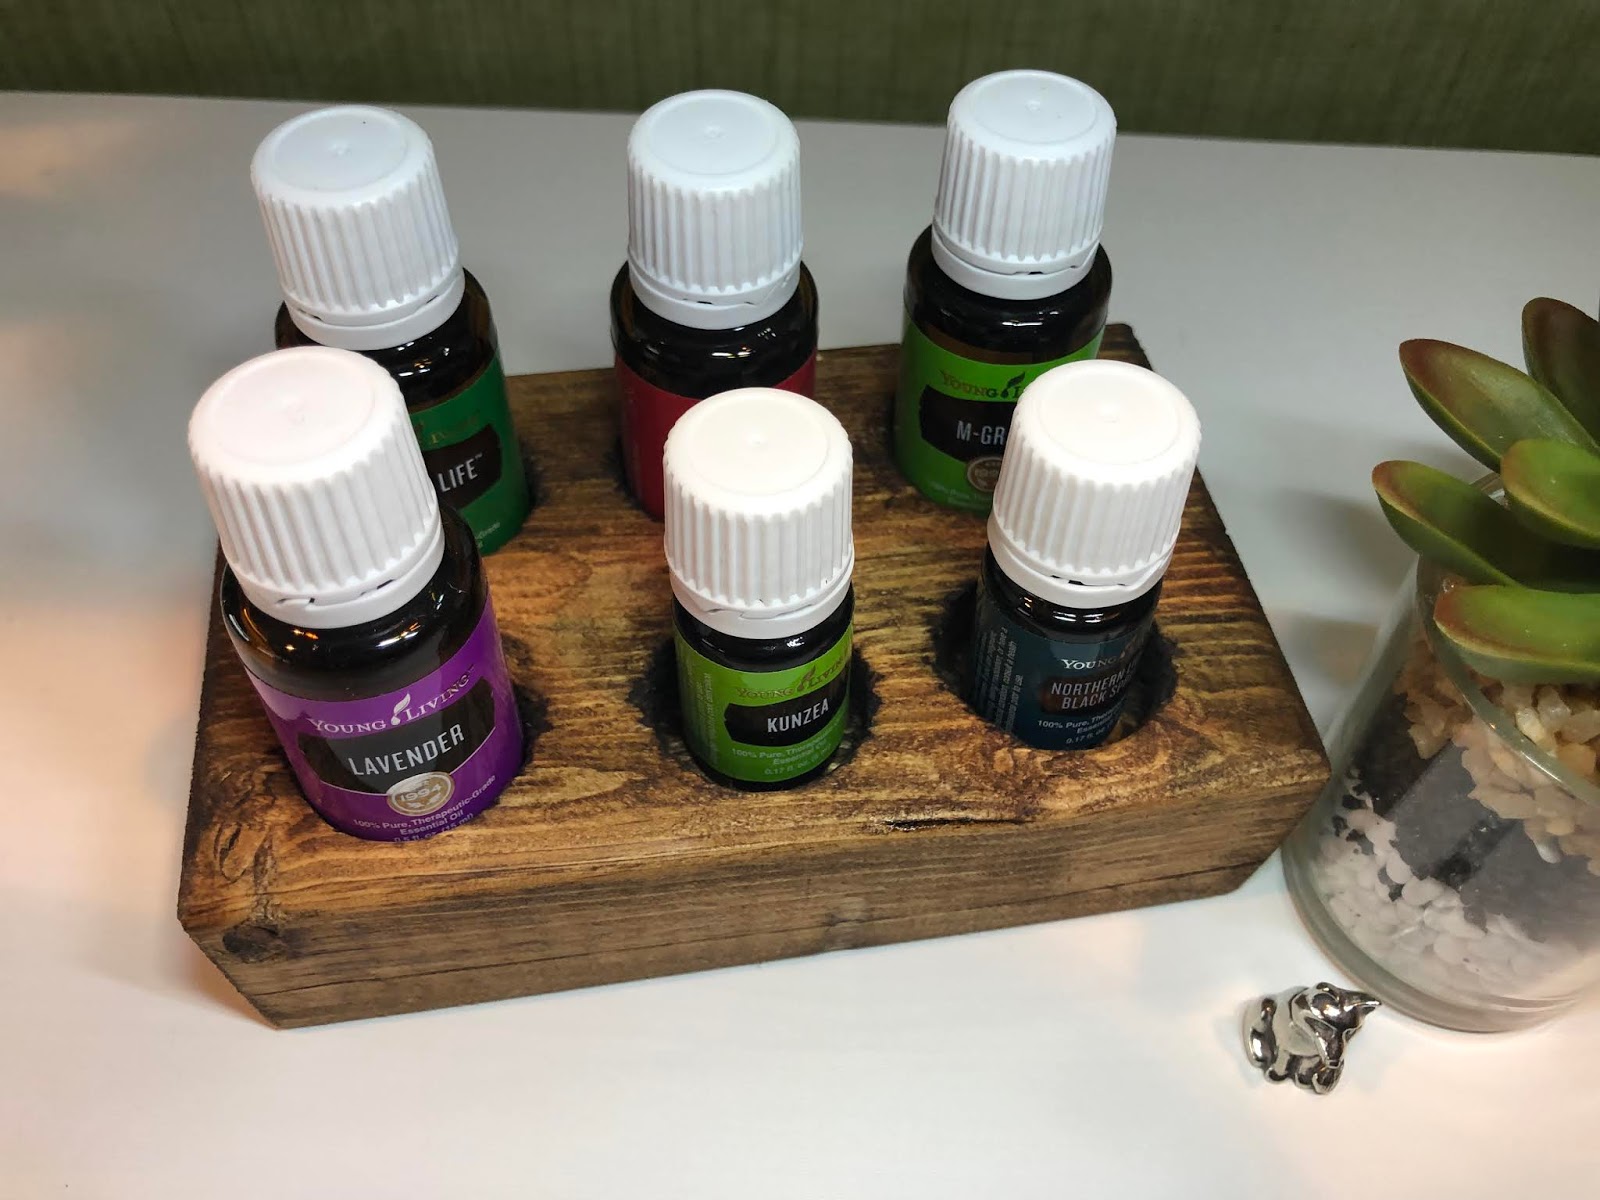
One rustic essential oils holder!
I was really proud of this project and the fact that without drying time, it took about 45 minutes to make.

It holds our Young Living 15 ml and 5 ml bottles perfectly.
As I change seasons, I can change the oils to ones that work with that season. Right now, the Northern Lights Black Spruce is keeping our home smelling like a cabin in the woods. Plus because of its high frequency, it's keeping hubs and I super energized (read happy) through the winter days.
I like this holder, but I do have other holders that are more stylized and closer to perfect than I could ever create.
But, variety is the spice of life, so I'm up for variety!
If you're interested in Young Living essential oils, visit my site here, or contact me and we can chat one-on-one.
Now...back to the basement.
UGH!


Post a Comment